Enhancements:
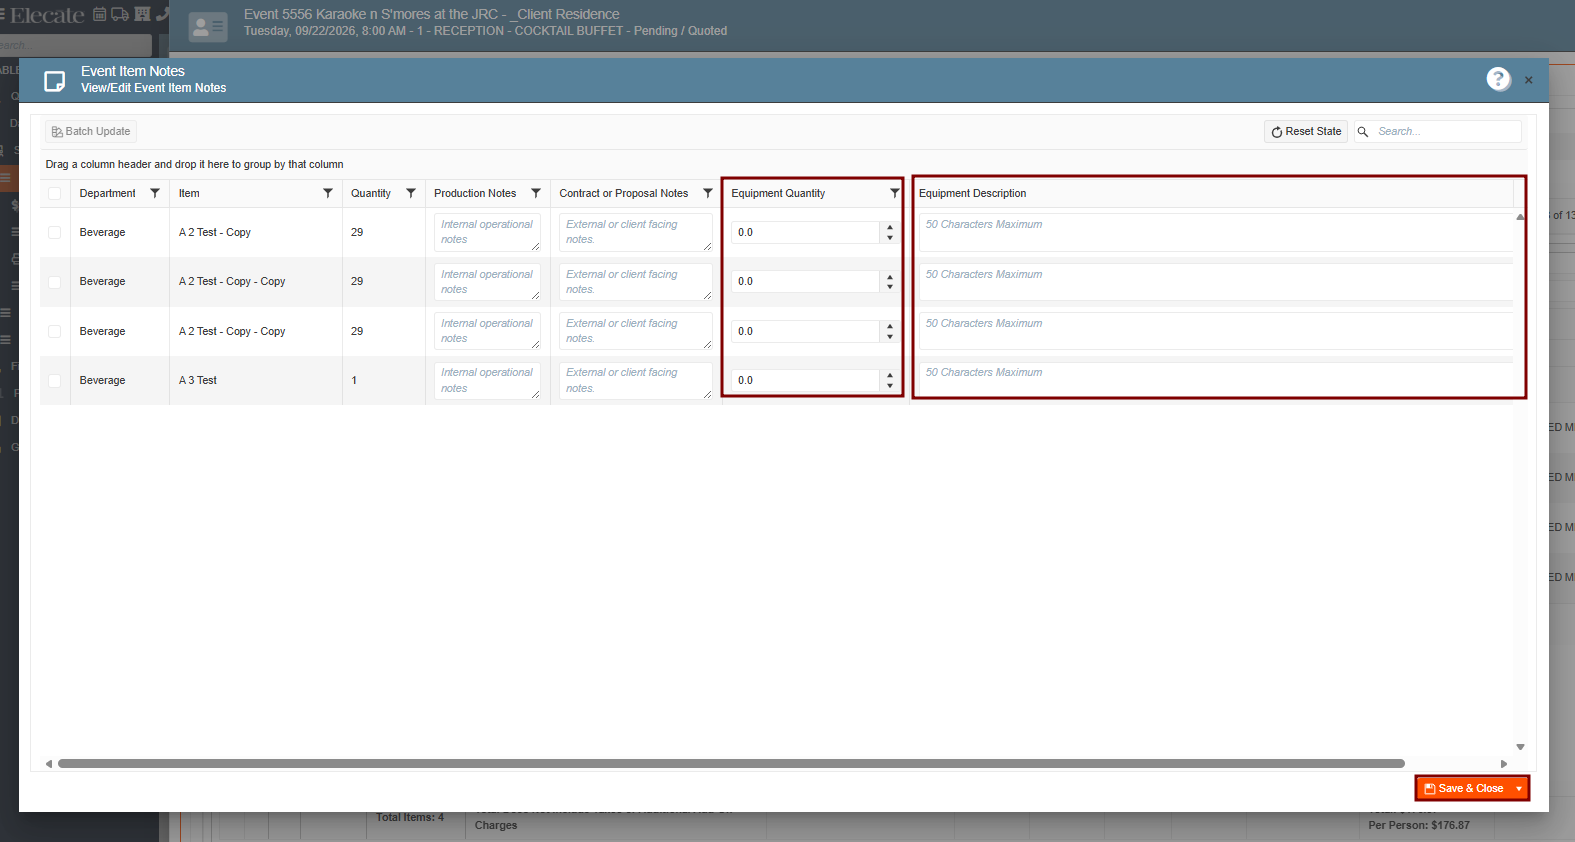
1. Adding Equipment Quantity and Description to the Beverage Department:
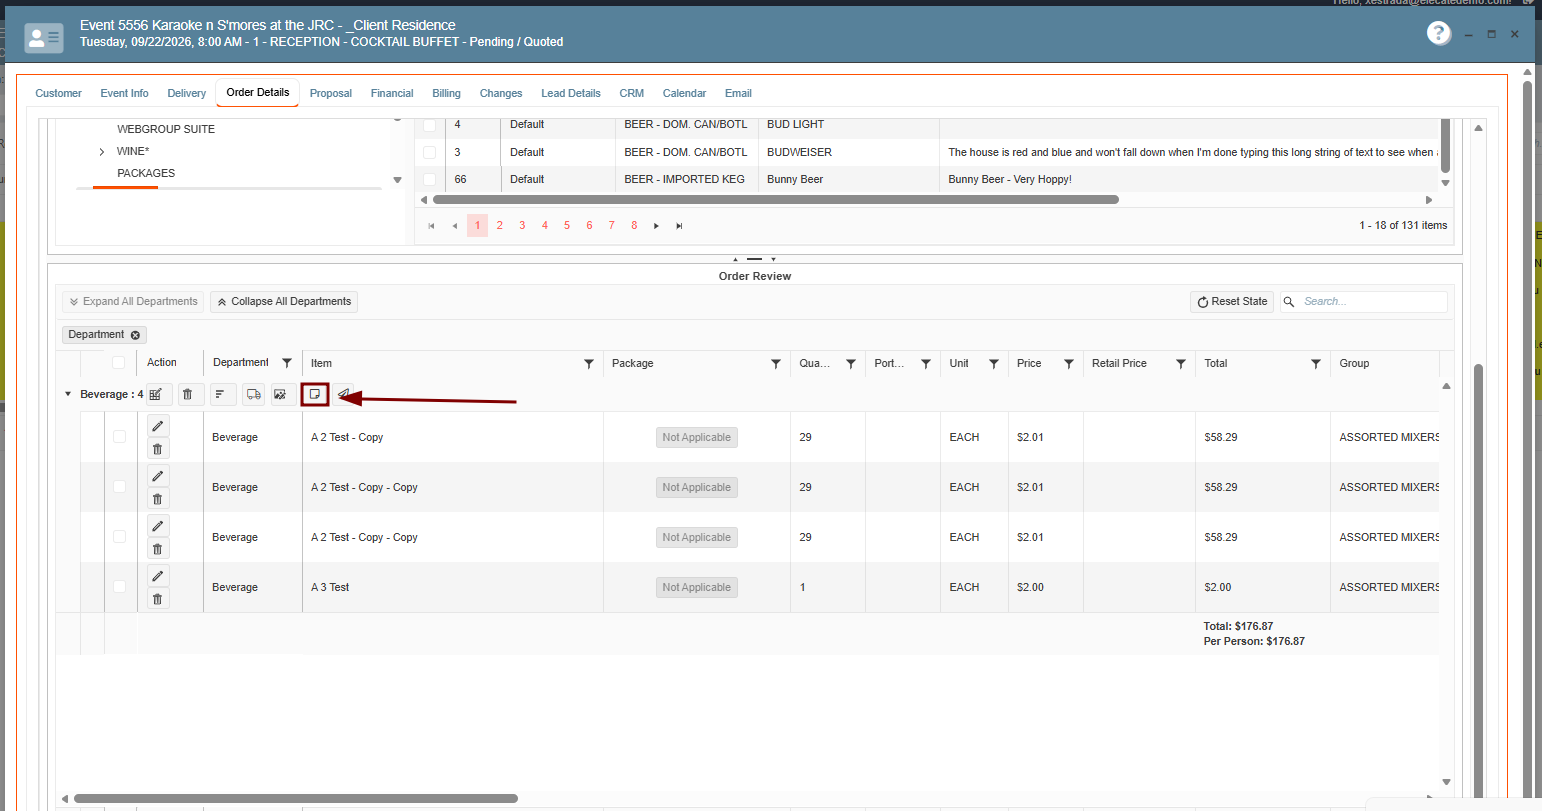
The Beverage department can now add Equipment Quantity and Equipment Description, matching the functionality previously available in the Recipe department.
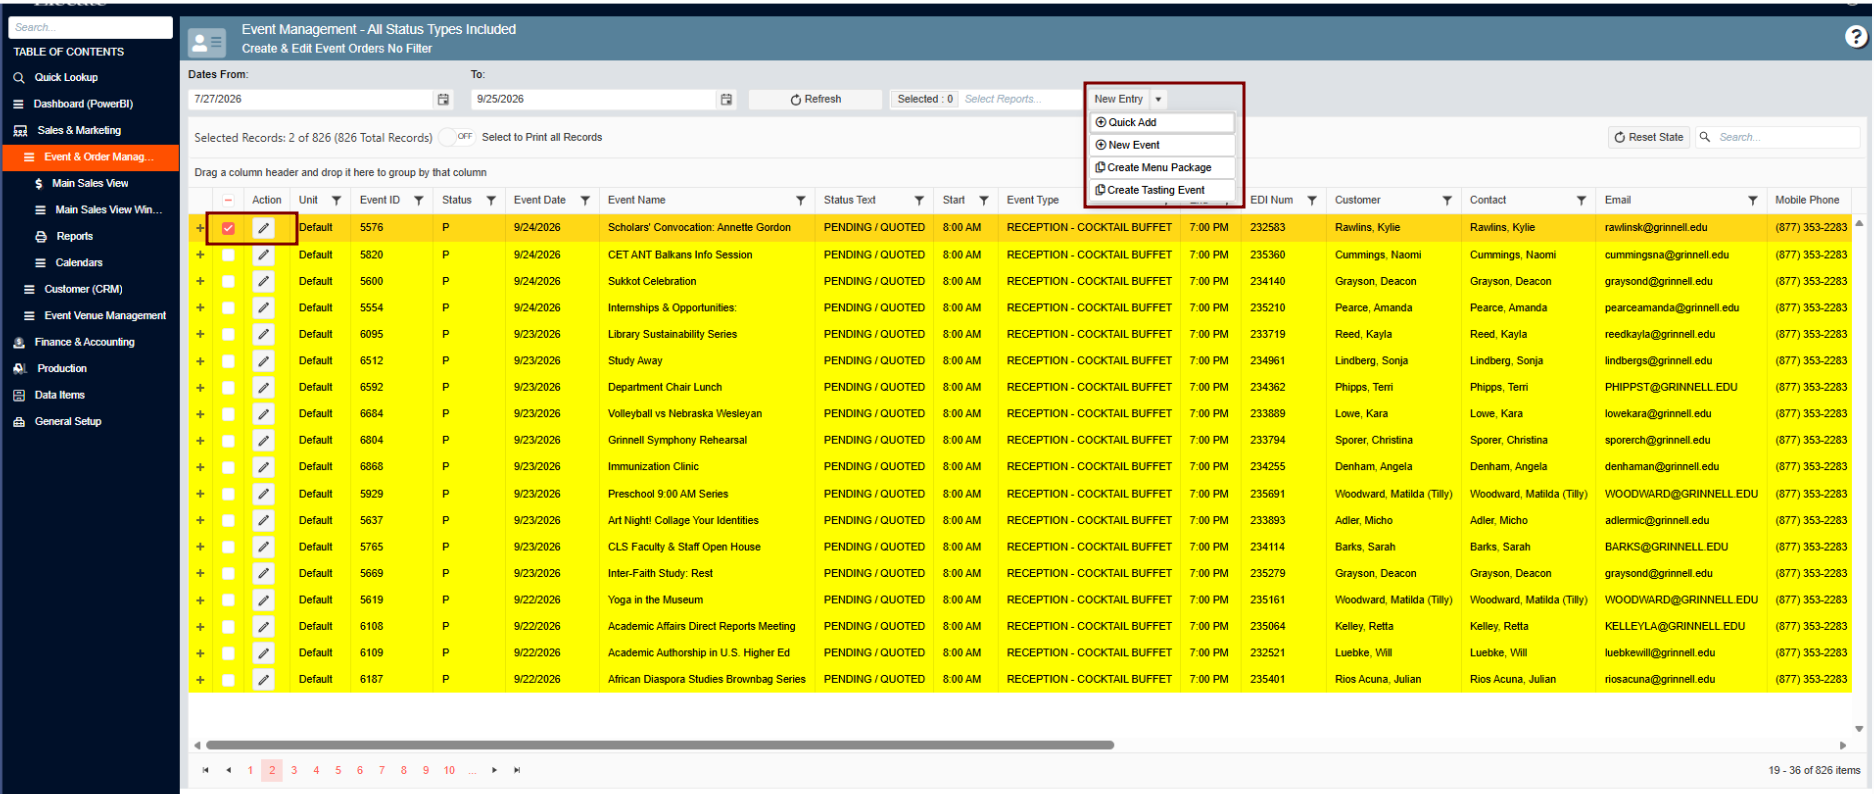
1. On the left side panel, go to Sales & Marketing
2. Click on Event & Order Management
3. Select Event Management - All Status Types Included
4. Open an existing event, go to Order Details
5. Add Beverage Items to the event, click on Edit Item Notes
2. Displaying Cost Center Grid Column and Restrict Records by Assigned Cost Centers in Main Views:
The Cost Center column has been added to the Main Sales, Main Production, and Main Staffing views. These views now use the same Cost Center filtering logic as the Main Kitchen View, ensuring that users can only see records associated with their assigned Cost Centers. This enhancement provides consistent visibility and access control across all department views.
1. On the left side panel, go to Sales & Marketing
2. Click on Event & Order Management
3. Select Main Sales View 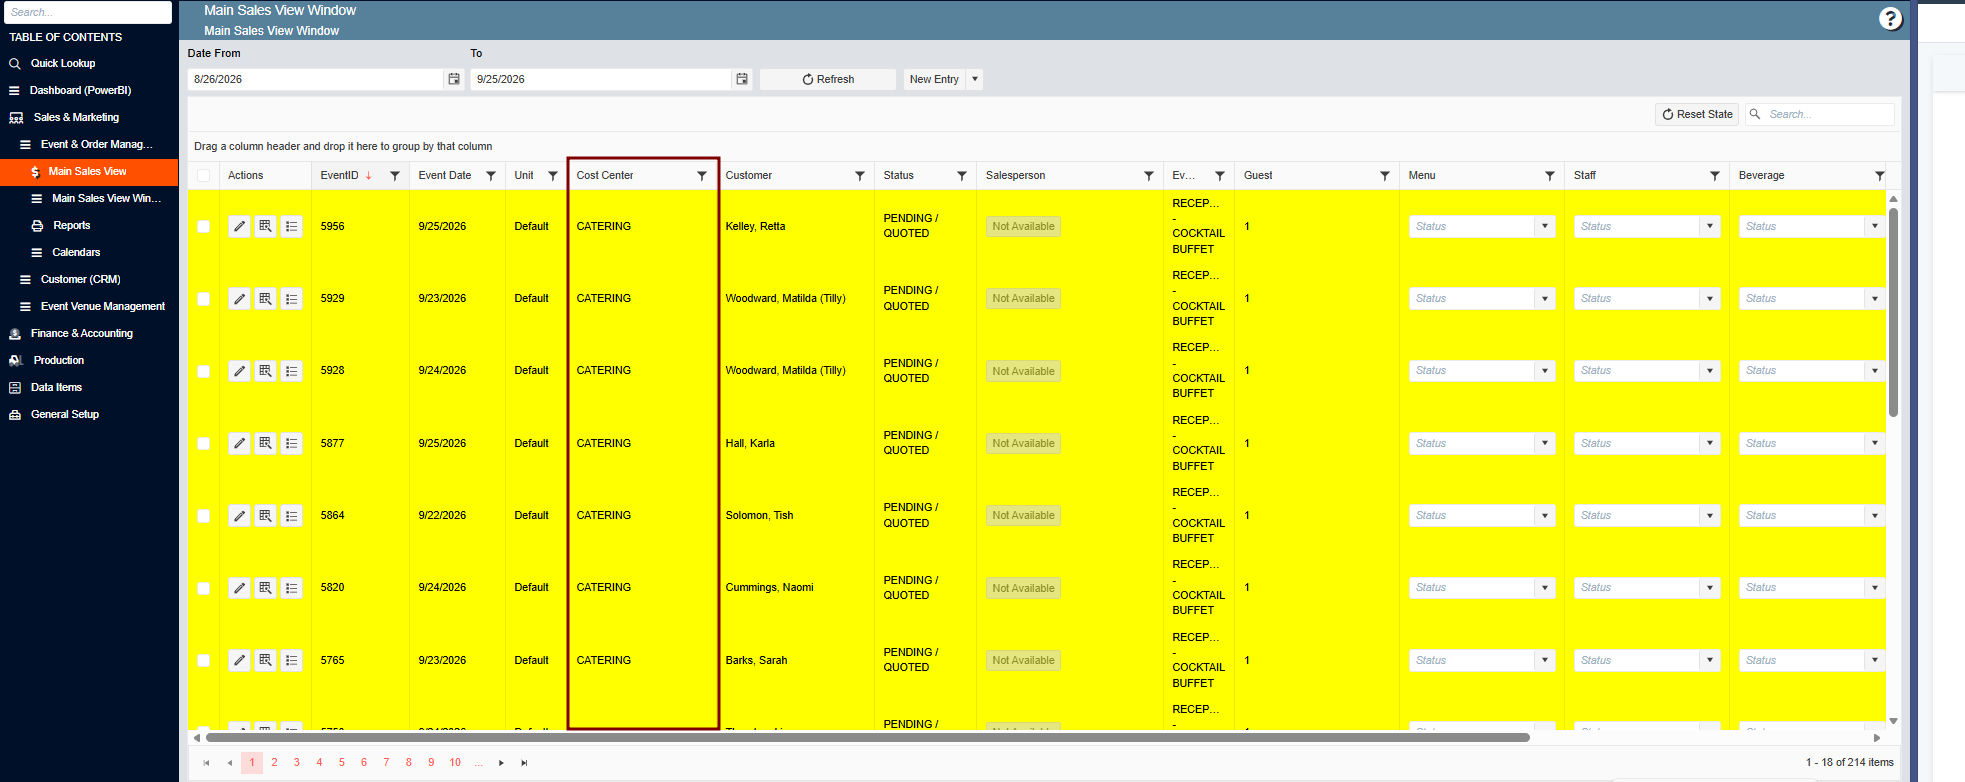
5. Click on Production
6. Select Kitchen Management
7. Choose Main Kitchen View
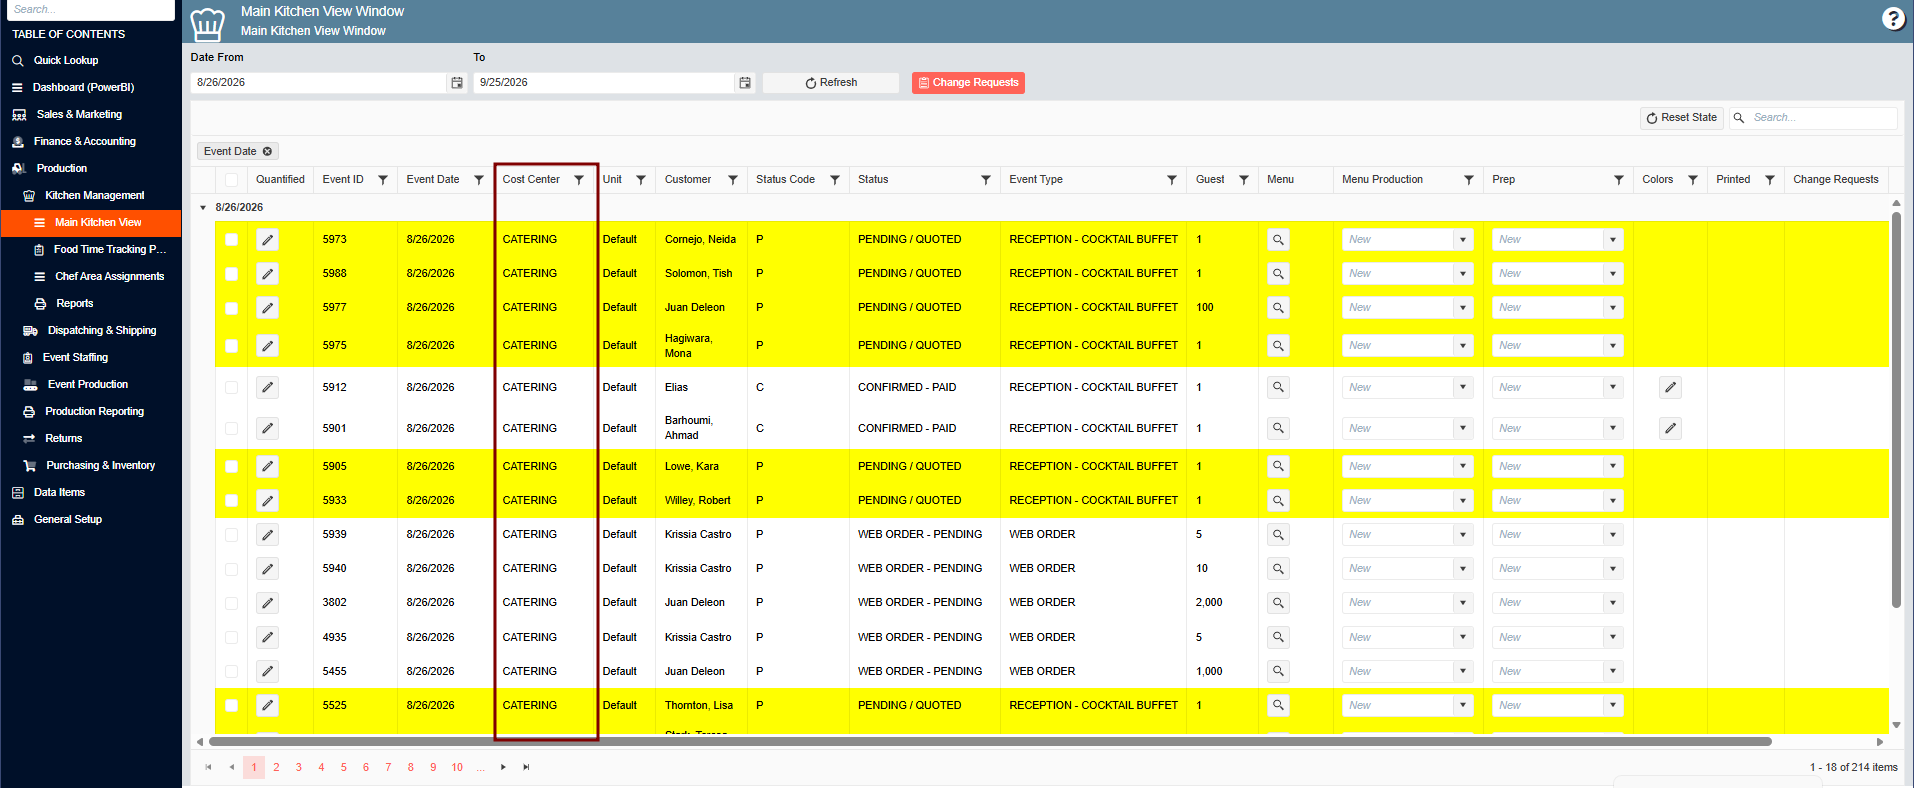
8. Click on Production
9. Select Event Staffing
10. Choose Main Staffing View
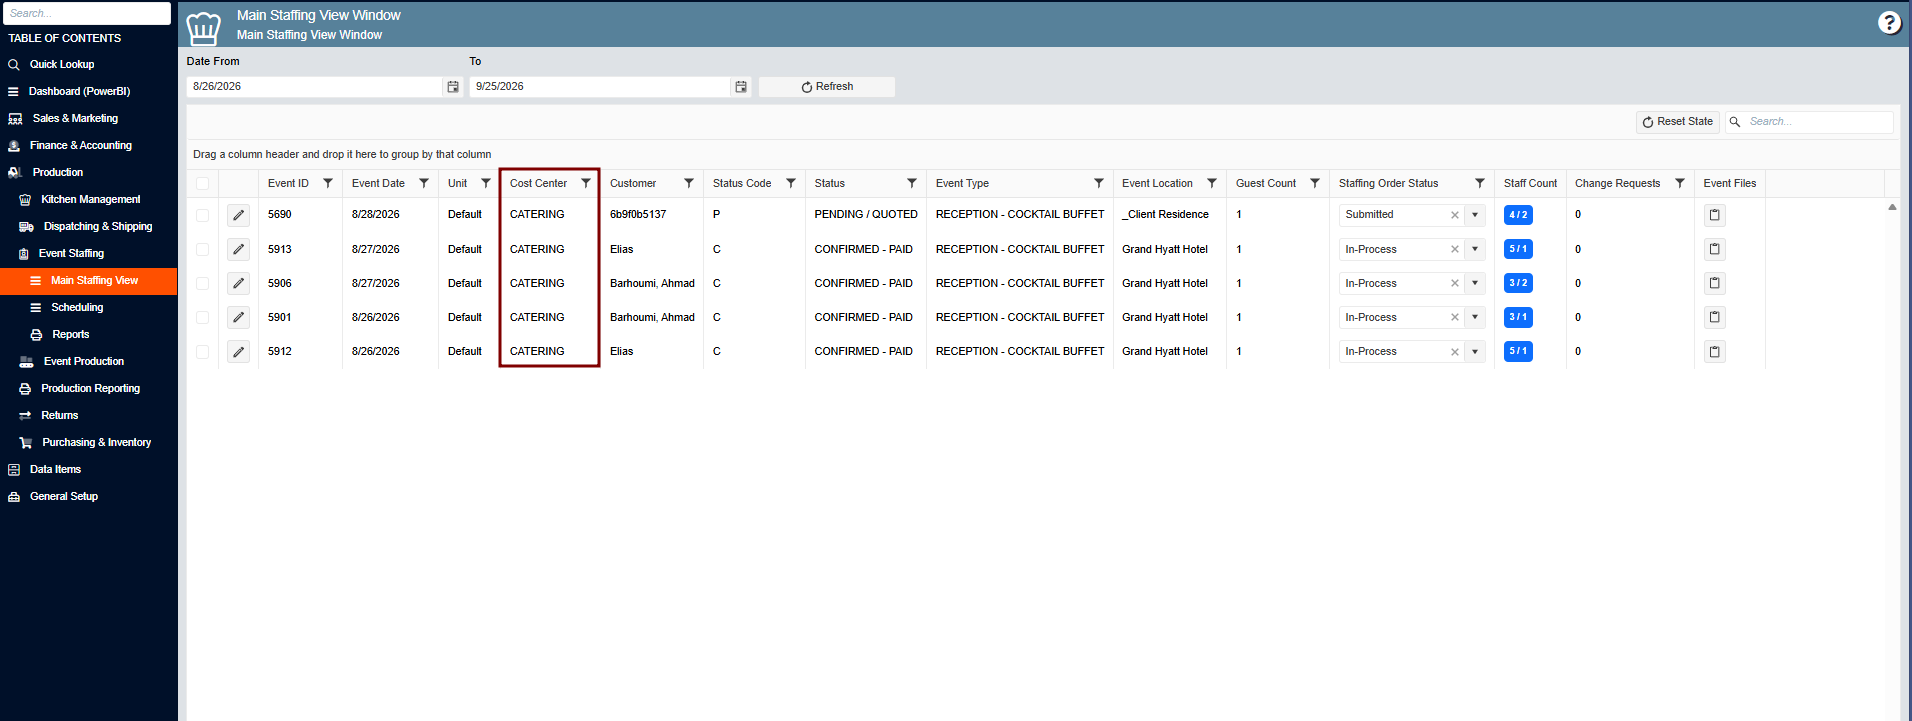
3. Support Staff Selection for Reports Requiring StaffID Parameter:
Reports within Event Staff Scheduling that require a StaffID now prompt users to select a staff record before the report can be run. This validation applies only to reports configured with the StaffID parameter, ensuring reports are executed successfully with the required data while leaving other reports unaffected.
1. On the left side panel, go to Production
2. Click on Event Staffing
3. Select Staff Production Scheduling
4. Search for your event in the Calendar
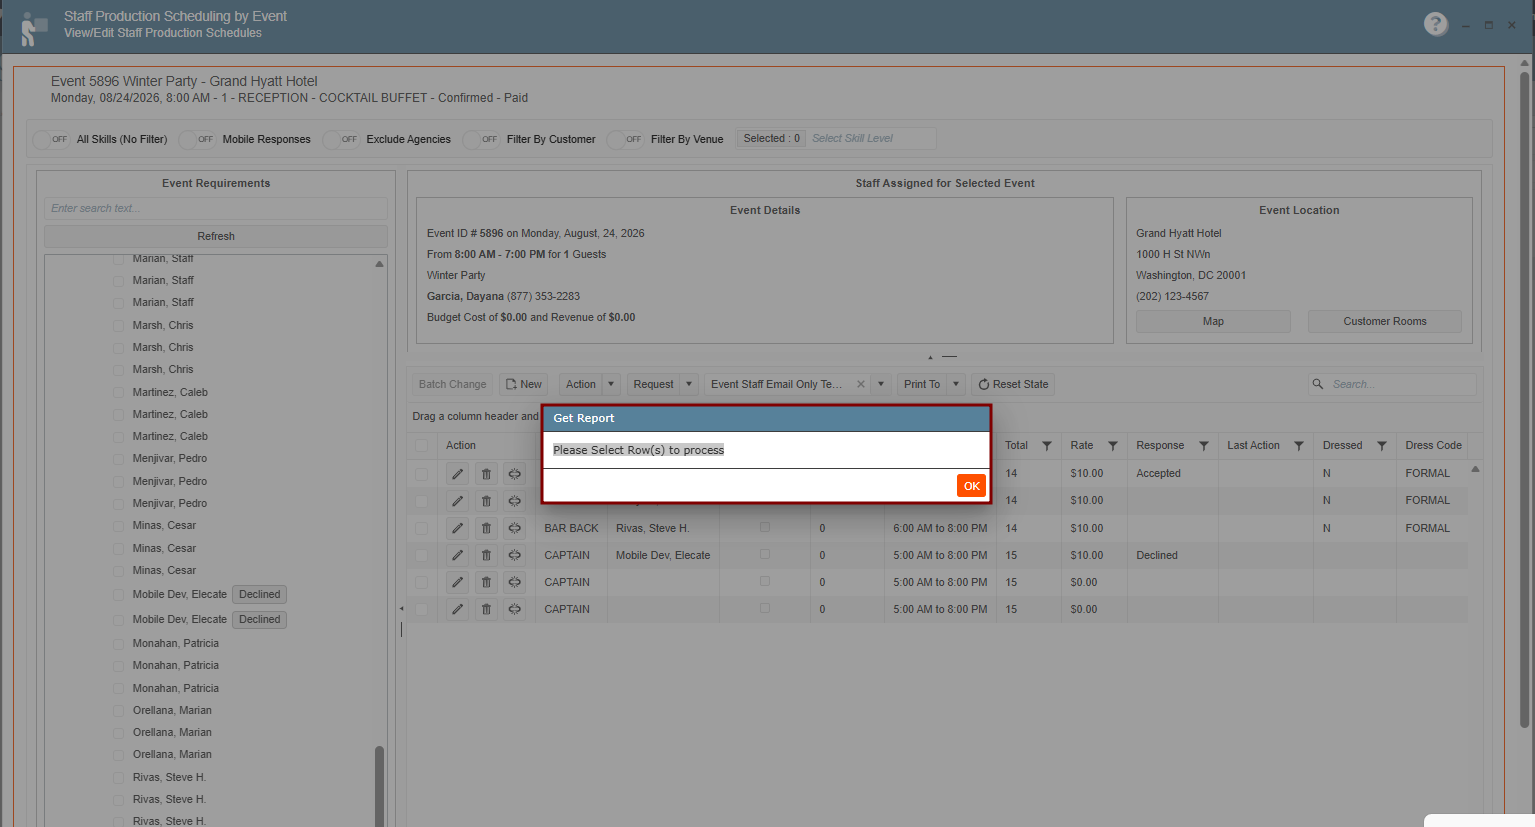
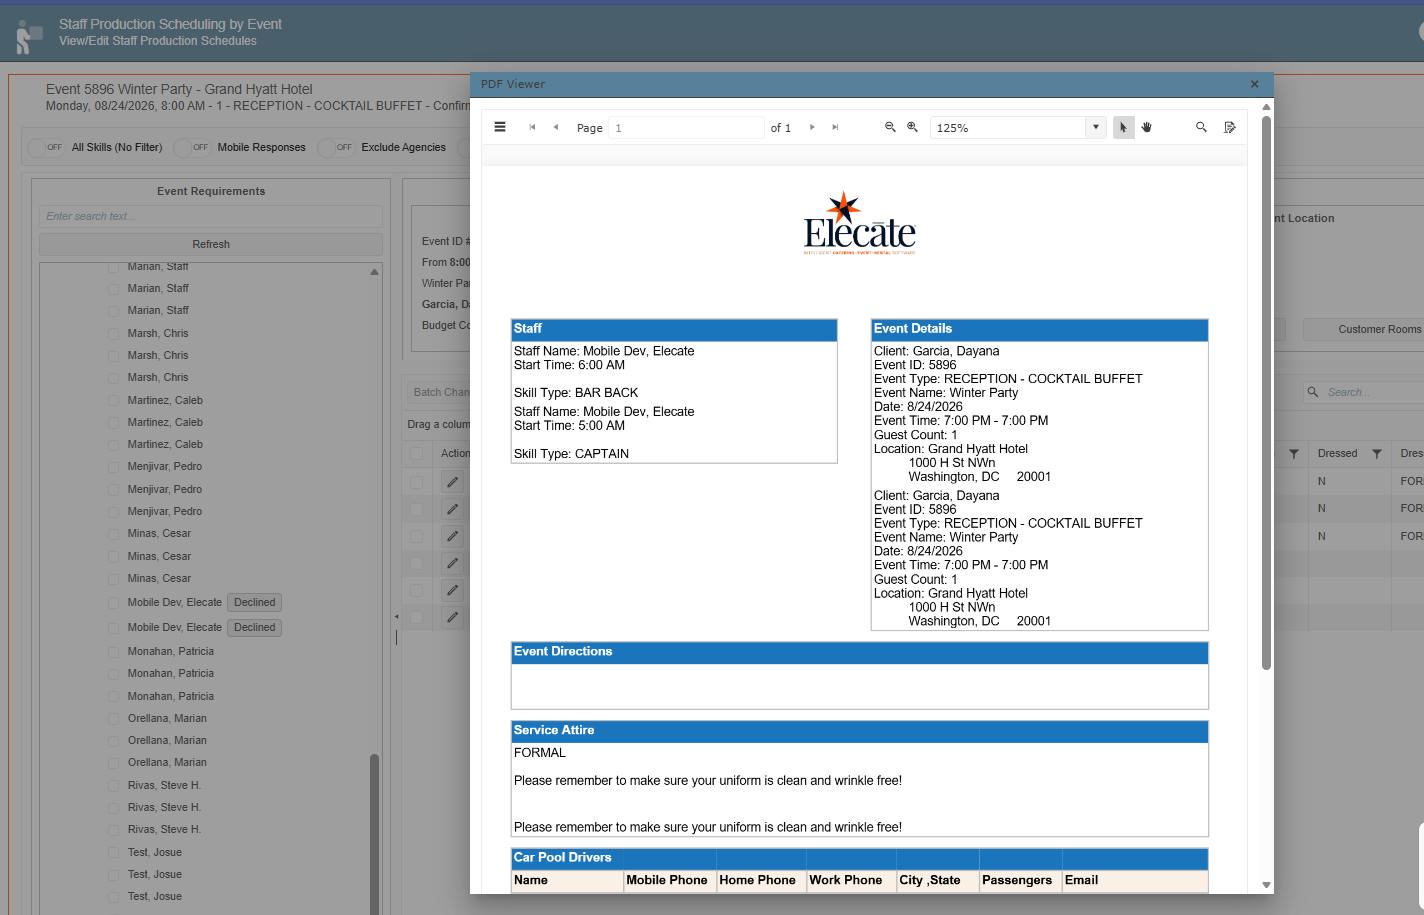
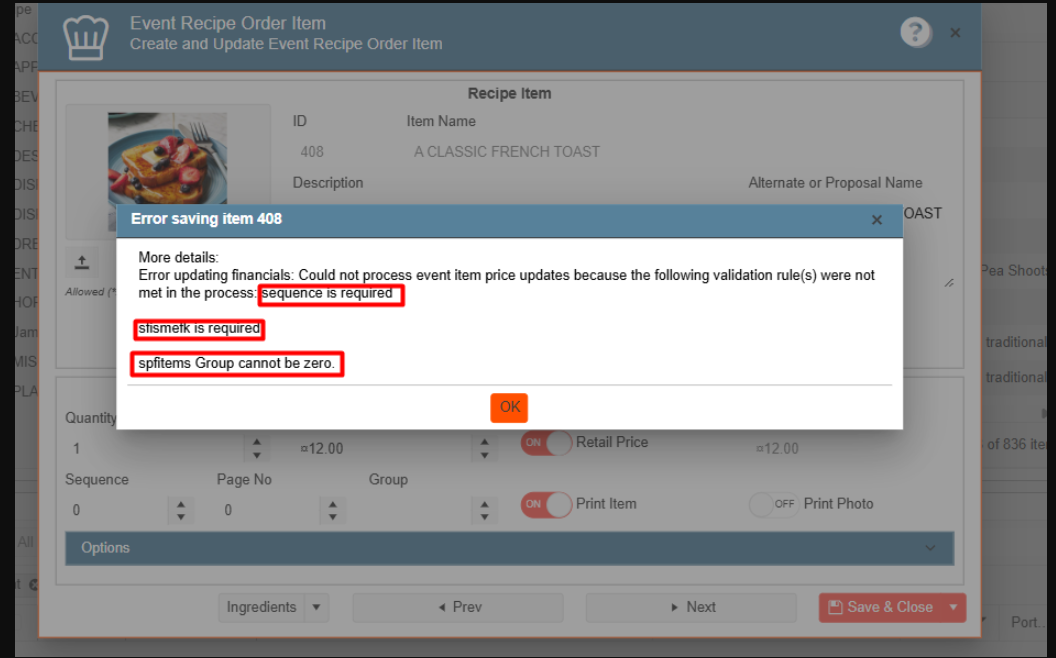
4. Ensuring that the validation rules messages surface the backend API response errors:
Validation error messages returned by the backend for Recipes, Equipment, Beverage, and Miscellaneous records are now properly displayed in the user interface. Users will receive complete and meaningful validation messages when required conditions are not met, improving clarity and helping them resolve issues more efficiently.
1. On the left side panel, go to Sales & Marketing
2. Click on Event & Order Management
3. Select Event Management - All Status Types Included
4. Open an existing event, go to Order Details
5. Add a Recipe Item and review whether an error is displayed when adding the item
Bug Fix:
1. Performance Issue When Refreshing Event Requirements with All Skills Filter Disabled:
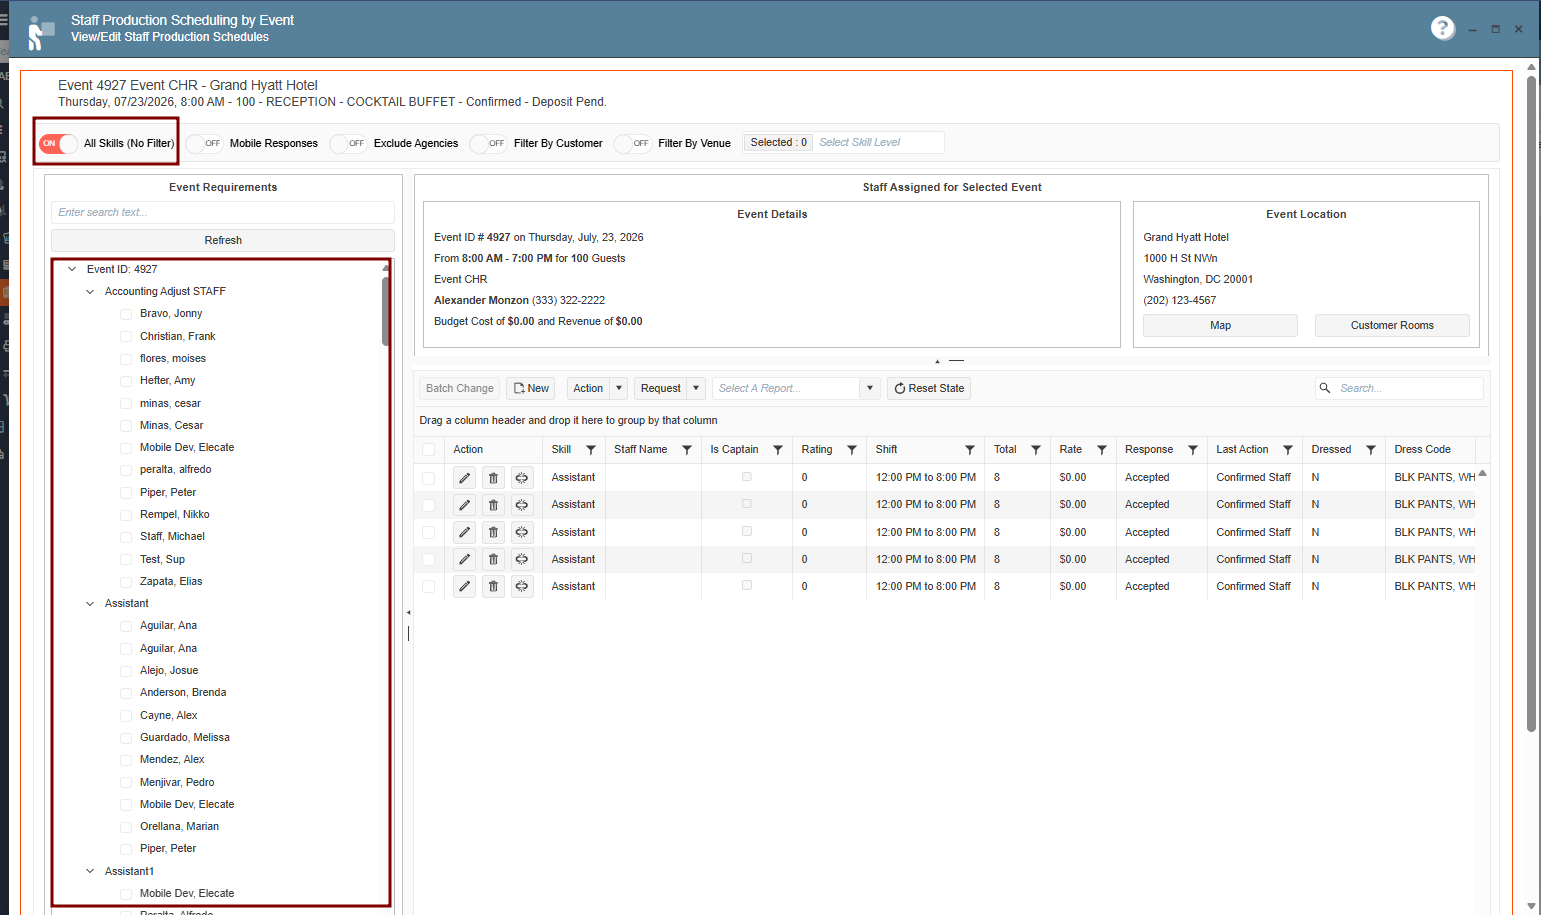
Performance has been improved in Staff Production Scheduling when refreshing staffing requirements with the All Skills (No Filter) option turned OFF. Users will now experience faster loading times when selecting Refresh in the Event Requirements section, providing a more consistent and efficient experience regardless of the filter setting.
1. Go to Production.
2. Click Event Staffing.
3. Select Staff Production Scheduling.
4. Open an event from the Calendar.
5. Ensure the All Skills (No Filter) toggle is OFF.
6. Click Refresh in the Event Requirements section.
7. Observe the time required to load staffing information.
8. Turn the All Skills (No Filter) toggle ON.
9. Click Refresh again and compare the results.
2. When CreateRoomForNewCustomer AppSetting is enabled, Delivery Address does not get fulfilled:
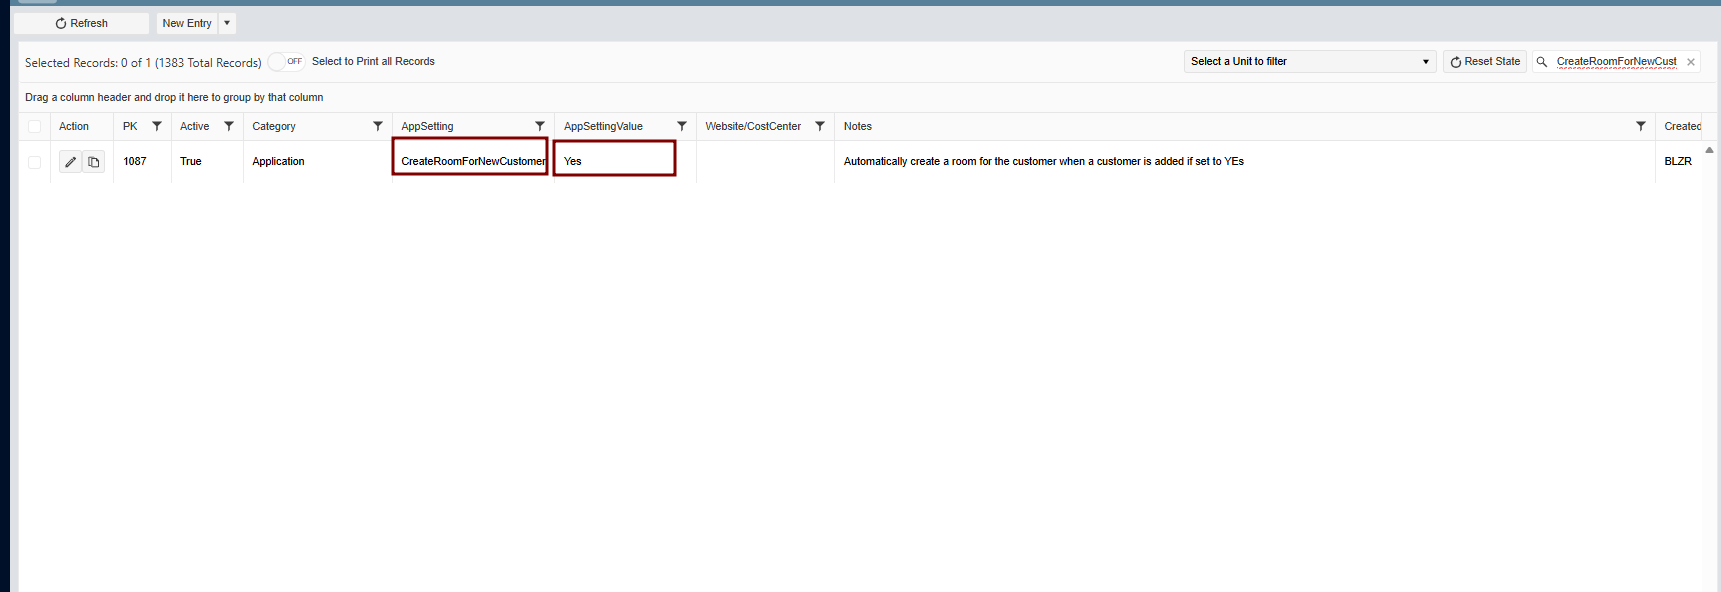
When the CreateRoomForNewCustomer setting is enabled and a new customer is created, any new event created for that customer will automatically populate the Delivery Address with the customer's address information, ensuring accurate and consistent address details.
1. At the top of the screen, click on the Gear Icon
2. Select Appsettings
3. In the search bar type in: CreateRoomForNewCustomer, set the Value to Yes
1. On the left side panel go to Sales & Marketing
2. Click on Customer CRM
3. Select Customer Marketing
4. Choose Customer Sales and Marketing Management
5. Create a new Customer by clicking on New Entry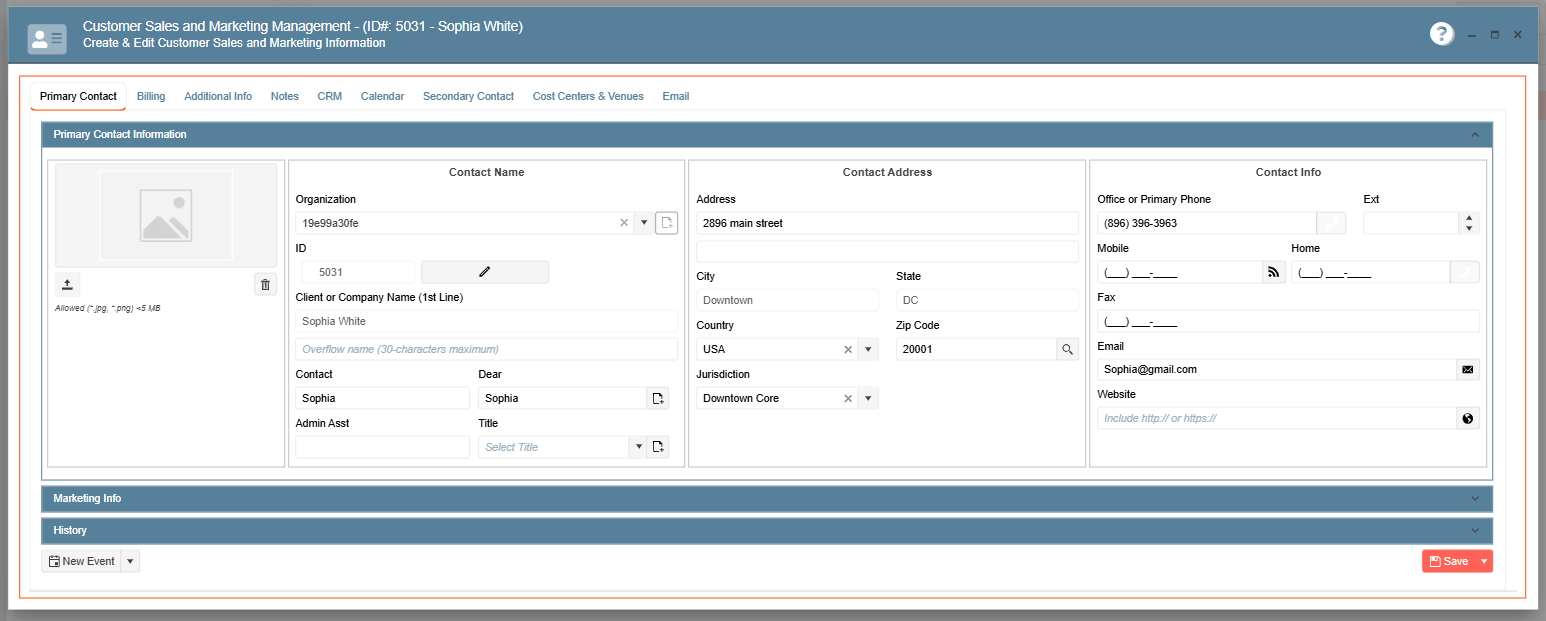
6. Go to Sales & Marketing
7. Click on Event Venue Management
8. Choose Off- Premise Locations All Cost Centers - All Status
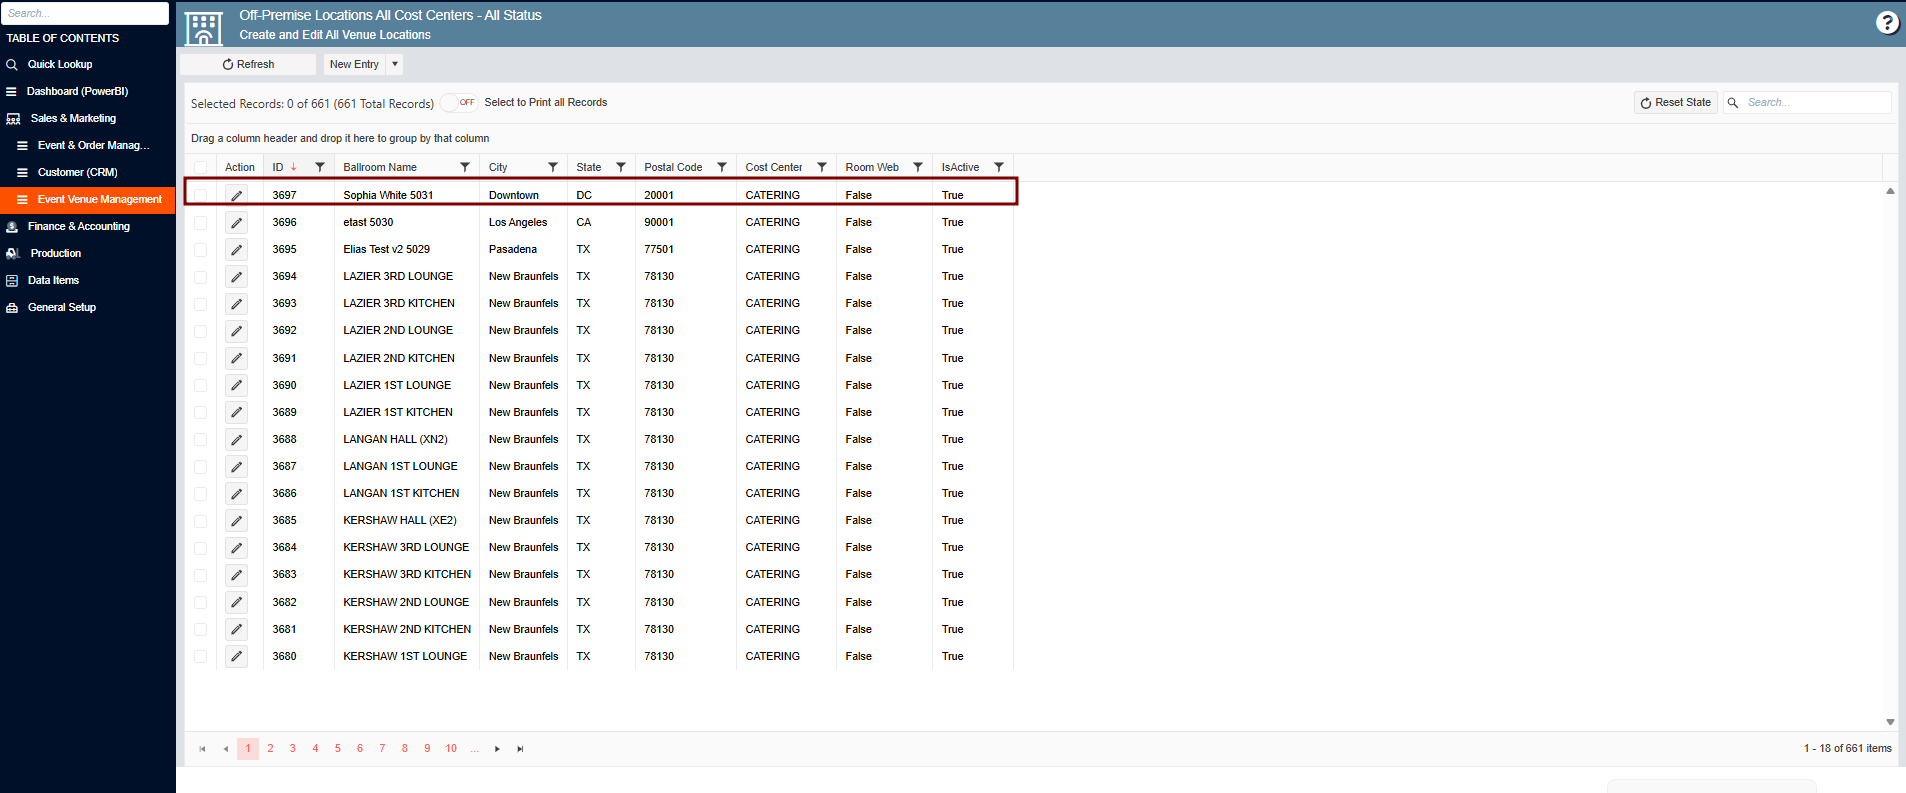
9. Go to Sales & Marketing
10. Click on Event & Order Management
11. Choose Event Management - All Status Types Included
12. Select on New Entry, in the customer field, enter the ID
13. Fill out the required fields, then go to the Delivery Tab
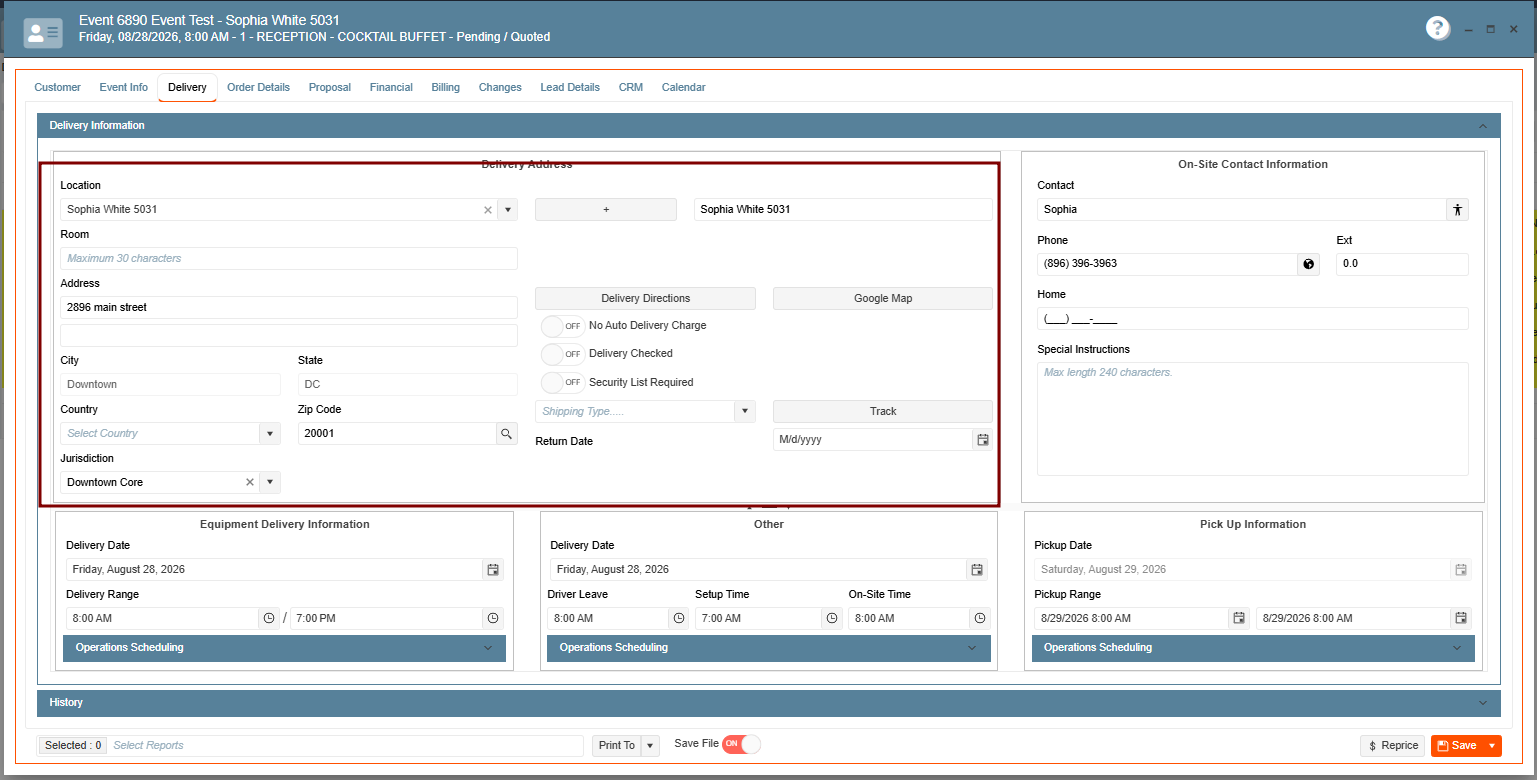
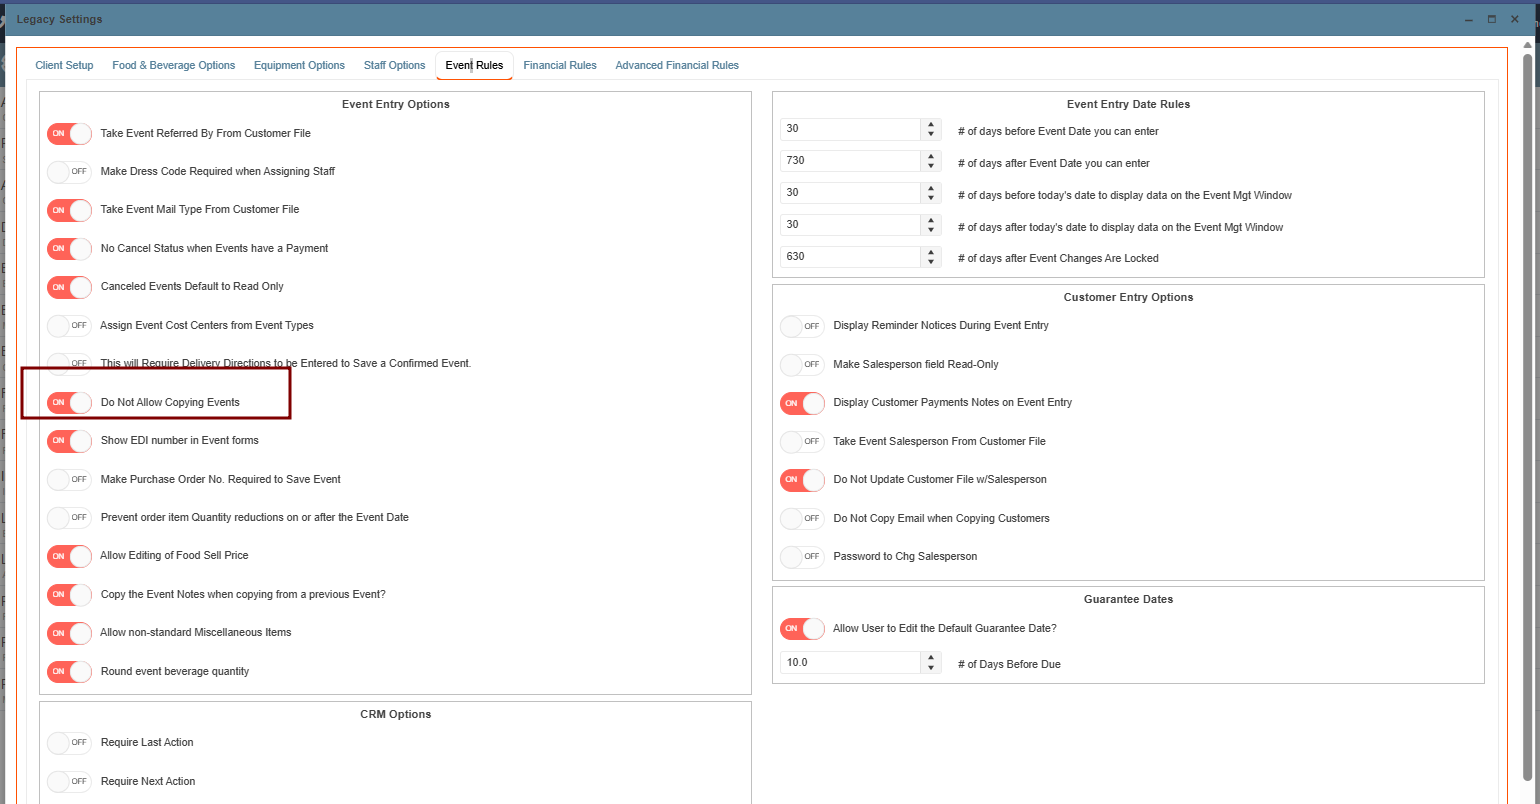
3. User is able to copy events from the Event and Venue Calendar when the toggle Do Not Allow Copying Events is ON:
The Do Not Allow Copying Events setting is now enforced across all applicable windows. When this toggle is ON, users will not be able to copy events, and the Copy Event option will be hidden. When the toggle is OFF, the feature will be available as usual in the corresponding windows.
1. At the top of the screen, click on the Gear Icon
2. Select Legacy Setting
3. Choose the Event Rules Tab
4. Turn on the Do not Allow Copying Events toggle
5. Go to Sales & Marketing
6. Click on Event & Order Management
7. Choose Event Management - All Status Types Included
8. Put a check mark on one of the existing events, go to the New Entry button and check if the Copy functionality is available