
The Image Library is a centralized image management system where you can upload, organize, and manage professional images for all your business items.
By building a comprehensive image library with properly sized and formatted photos, you enable your sales team to create visually compelling proposals that help customers visualize their events before booking.
Images are automatically organized by category (food, beverages, equipment, staff, vendors, and venues) and can be used across proposals, reports, and your online customer portal.
NAVIGATION & SETUP
There are two ways to manage images in Elecate: through a centralized Image Management gallery, or by uploading directly from Data Items.
Method 1: Centralized Image Management (Settings)
This is the master image gallery where all images from all Data Items are consolidated for viewing, updating, and deletion.
Steps:
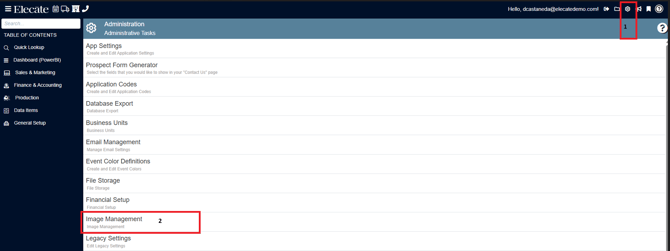
- At the top right corner of the screen, click the Gear Icon
- Select Image Management
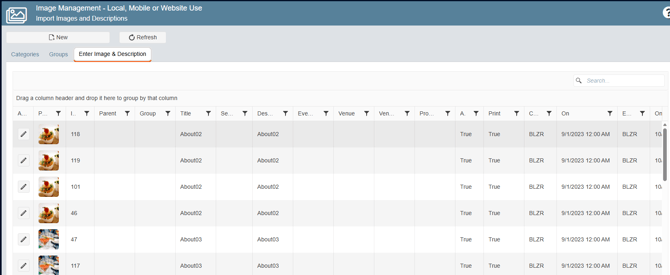
3. Go to the "Enter Image & Description" tab

You will see all images uploaded in your system displayed as a gallery, from this view you can update or delete any image
Method 2: Upload Directly from Data Items
Upload images while creating or editing individual items in each data category.
General Steps:
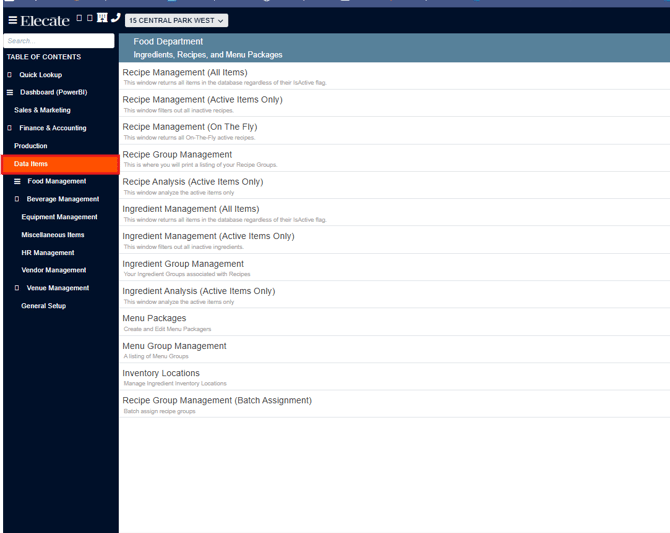
- Go to Data Items (left side panel)
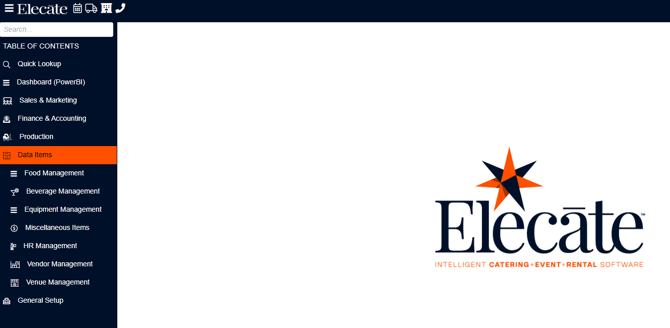
-
- Food Management
- Beverage Management
- Equipment Management
- Miscellaneous Item Management
- HR Management (Staff)
- Vendor Management
- Venue Management
3. Click on the appropriate management section for that category (e.g., "Recipe Management All Items)")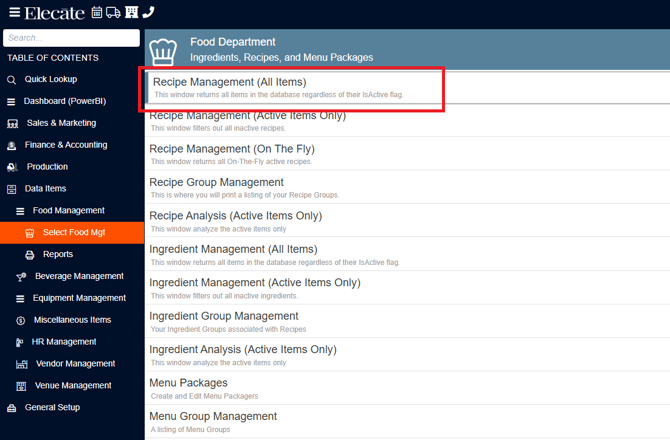
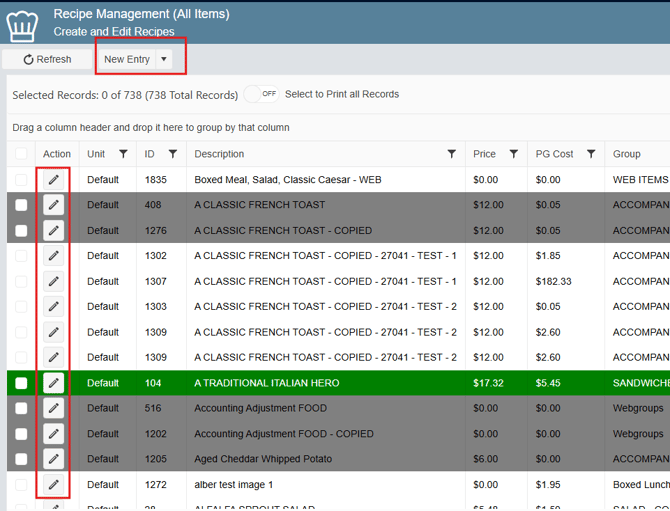
4. Either open an existing item or create a new item by clicking "New Entry"
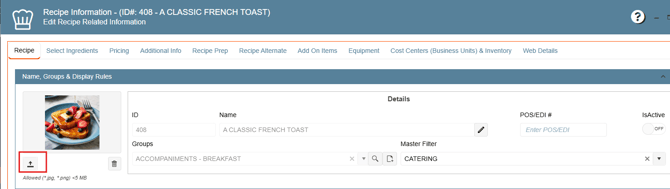
5. Click the image upload icon on the left side of the item window
6. Select and upload your image from your computer
7. The image is automatically added to the centralized Image Library
The image now appears in both the specific item AND the master Image Library
REQUIREMENTS
Before uploading images to your Image Library, ensure:
- You have access to Data Items or General Setup menu (requires appropriate user permissions)
- You have professional images ready in JPG or PNG format
- Your images meet the recommended specifications for their intended use (see Section 3)
- You understand where images will be displayed (proposals, events, online portal, reports)
- Your images are properly photographed: well-lit, centered, professional quality
- You have a clear naming convention for organizing similar items
SECTION 3: FIELD DEFINITIONS & IMAGE SPECIFICATIONS
Image Types Table
When uploading images, you need to understand the four image types and when to use each. All images should maintain consistent visual quality, crop, lighting, and clarity, scaled appropriately for their use:
| Image Type | Purpose & Use Case | Aspect Ratio | Dimensions | Max File Size | Format | When to Use |
|---|---|---|---|---|---|---|
| Default Image | Main listing view, gallery displays, primary item reference | 1:1 (Square) | 500–800 px | < 500 KB | JPG or PNG | Always (required). Main photo shown when browsing items. |
| Thumbnail Image | Search results, mobile browsing, quick selection lists, menu displays | 1:1 (Square) | 150–300 px | < 100 KB | JPG or PNG | Always (required). Small, recognizable image for fast loading. |
| Large Image | Proposal detail pages, pop-ups, item detail view, close-up features | 1:1 (Square) | 1000–1500 px | < 1 MB | JPG or PNG | Optional. Shows detail and texture when customers click for more info. |
| HiRes Image | Printed proposals, marketing materials, large displays, high-end presentations | 1:1 (Square) | 1500–2500 px (>96 dpi) | < 2 MB | JPG or PNG | Optional. Professional-grade quality for print and premium materials. |
File Size & Performance Settings
Default Maximum File Size: 2,097 kilobytes (2.1 MB) for individual images
Why Size Matters:
- Larger image files slow down proposal generation
- Oversized images delay event screen loading
- Mobile customers experience poor performance with large files
- Properly optimized images = faster, more professional experience
System Configuration:
- You can adjust the maximum allowed file size through App Settings
- Setting name: MaxImageSize (Maximum allowed: 5,000 KB)
How to Change MaxImageSize:
- Click the Gear Icon at top right of screen
- Select App Settings
- In the search field, type MaxImageSize
- Adjust the kilobyte value (max: 5,000)
- Save changes
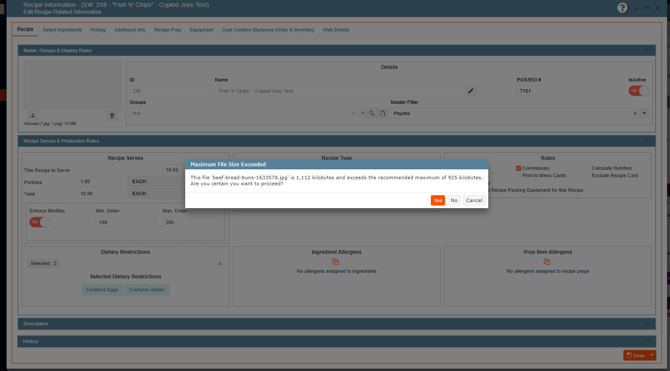
Error Handling: If you try to upload an image that exceeds the maximum, an error message will appear. Solution: Use image editing software to resize the image to a smaller file size, then upload the optimized version.
Image Quality Standards
Professional Image Characteristics:
- Clear, sharp focus (not blurry)
- Consistent, professional lighting
- Centered composition with appropriate cropping
- Color grading and saturation consistent with other images
- High-resolution originals (then optimized for web)
DATA ITEM CATEGORIES & IMAGE UPLOAD WORKFLOW
You can attach images to items in 7 different data categories. Each category follows the same basic image upload process with slight variations noted below.
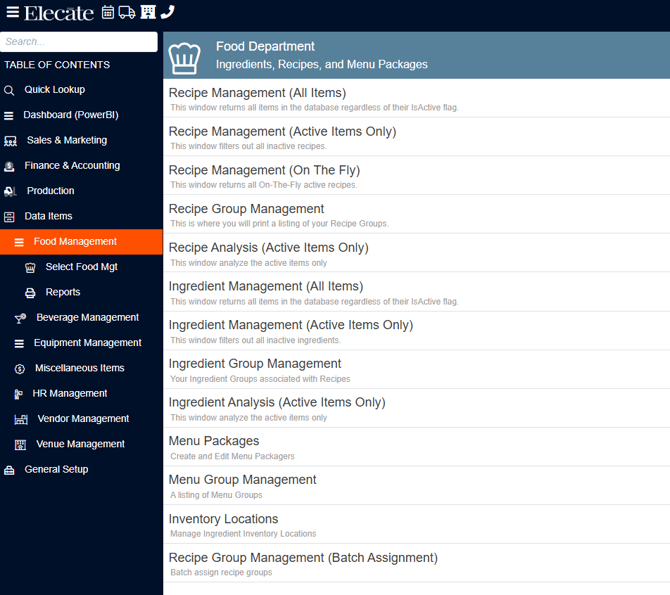
1. Food Management
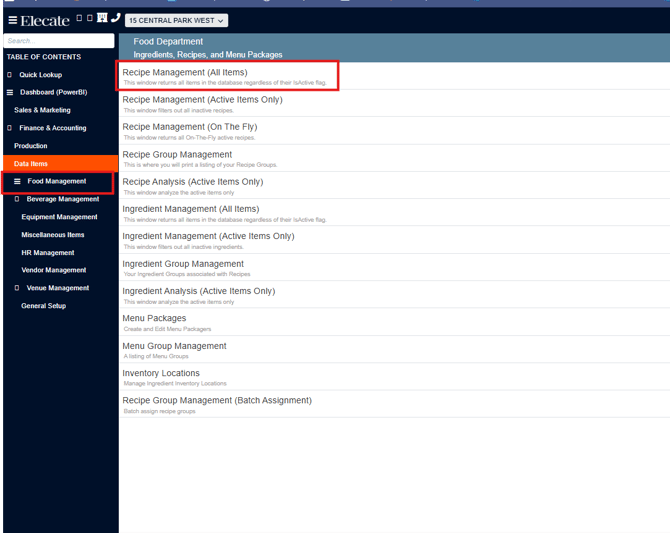
1. On the left side panel, go to Data Items:
2. Click on Food Management, go to Recipe Management (All Items):
3. You can either open an existing item or create one by clicking on the New Entry option: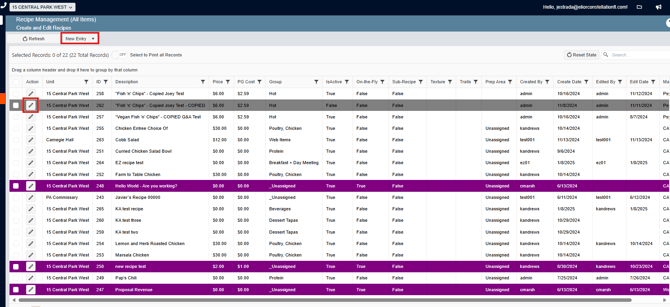
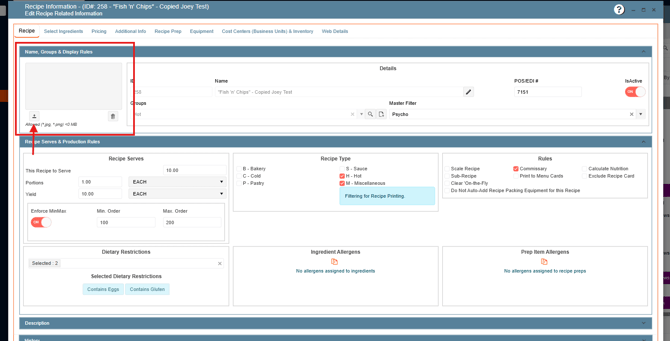
4. On the left side of the window, you just need to click on this icon ![]() , in order to upload the image:
, in order to upload the image:
If the selected image exceeds the allowed maximum the following message will appear:
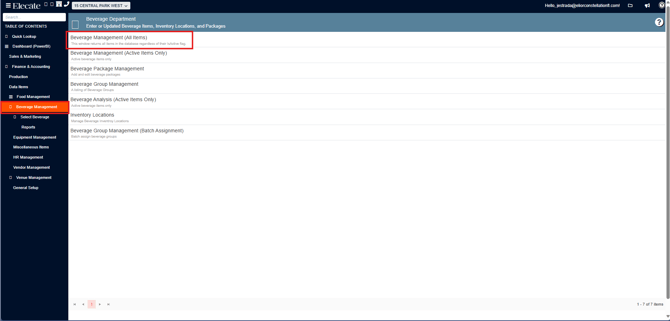
2. Beverage Management
1. On the left side panel, go to Data Items:
2. Go to Beverage Management and Click on Beverage Management (All Items)
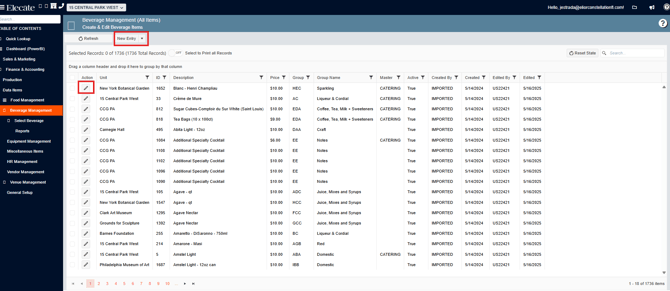
3. You can either open an existing item or create one by clicking on the New Entry option:
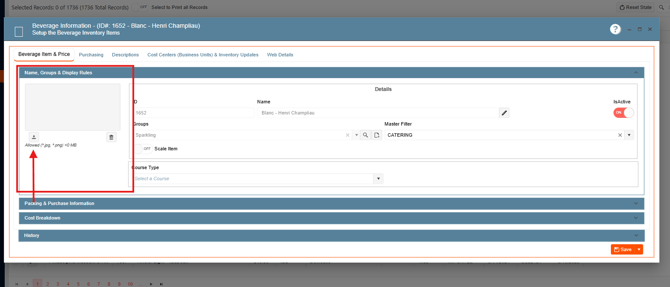
4. On the left side of the window, you just need to click on this icon ![]() , in order to upload the image:
, in order to upload the image:
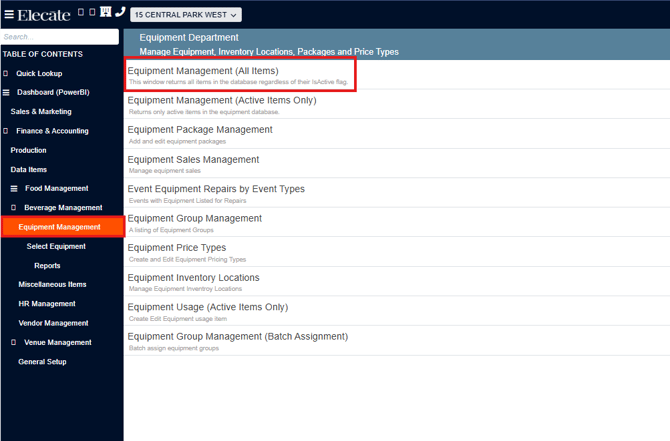
3. Equipment Management
1. On the left side panel, go to Data Items:
2. Go to Equipment Management and click on Equipment Management (All Items)
3. You can either open an existing item or create one by clicking on the New Entry option:
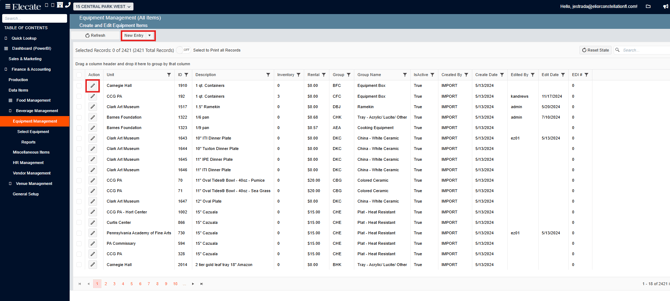
4. There are 2 different ways to add images from Equipment, the first one: On the left side of the window, you just need to click on this icon ![]() , in order to upload the image:
, in order to upload the image:
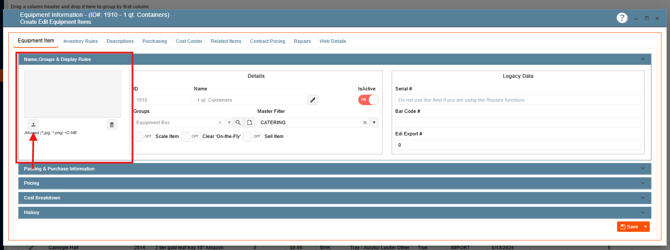
Second option:
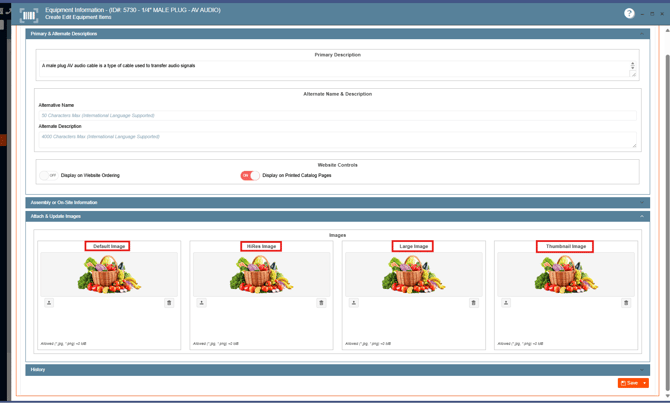
Go to the Description Tab and look for the Attach & Update Images section, on this window you can add more than one image, related to the item, you will have to upload images on the Default and Thumbnail option, however we have 2 more options where you can upload images the High Resolution and the Large image fields.
If the images exceed the recommended maximum, the following error message will pop-up, resize the image and upload: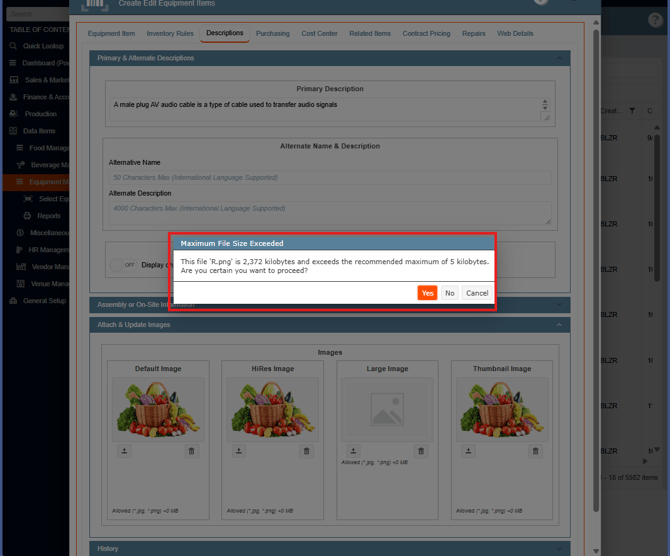
4. Miscellaneous Item Management
1. On the left side panel, go to Data Items:
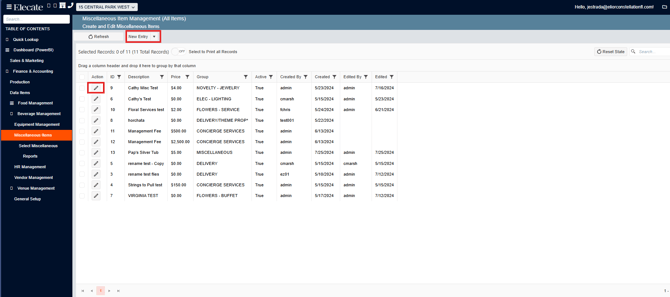
2. Go to Miscellaneous and click on Miscellaneous Item Management (All Items):
3. You can either open an existing item or create one by clicking on the New Entry option:
4. On the left side of the window, you just need to click on this icon ![]() , in order to upload the image:
, in order to upload the image:
5. HR Management (Staff)
1. On the left side panel, go to Data Items:
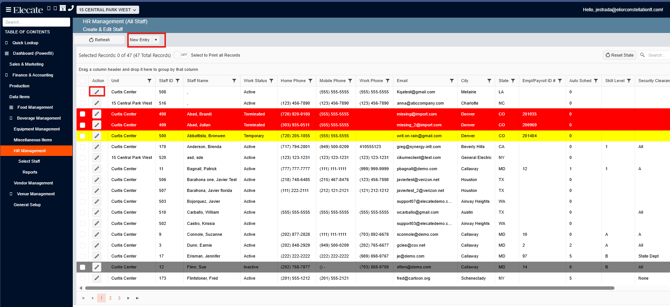
2. Go to HR Management and click on HR Management (All Staff):

3. You can either open an existing item or create one by clicking on the New Entry option:
4. On the left side of the window, you just need to click on this icon ![]() , in order to upload the image:
, in order to upload the image:
 If you have images that exceed the recommended KB, resize the image and upload. This will help with report performance and load times in the event screen.
6. Vendor Management
1. On the left side panel, go to Data Items:
2. Go to Vendor Management and Vendor Management - All Vendor:
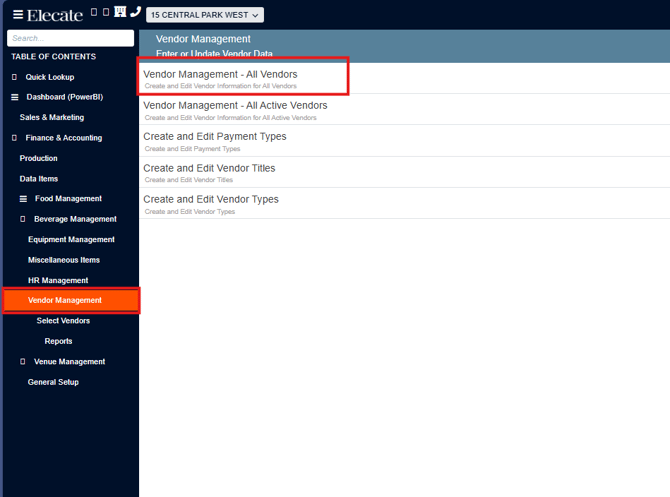
3. You can either open an existing item or create one by clicking on the New Entry option:
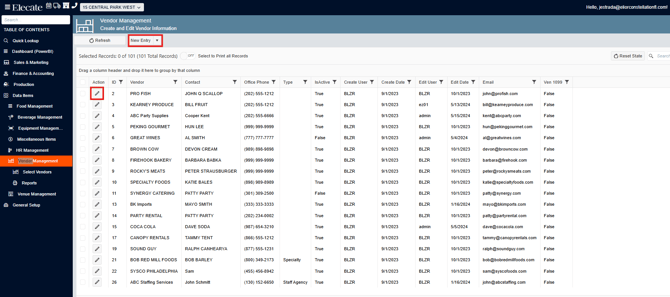
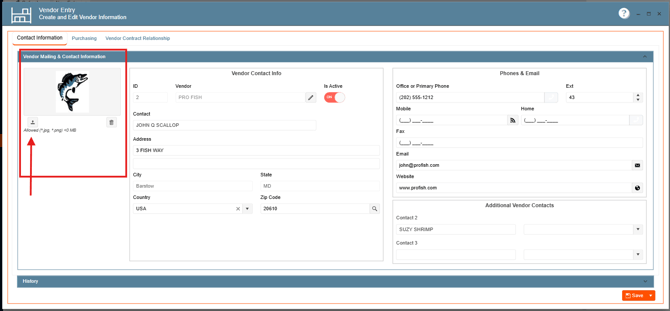
4. On the left side of the window, you just need to click on this icon ![]() , in order to upload the image:
, in order to upload the image:
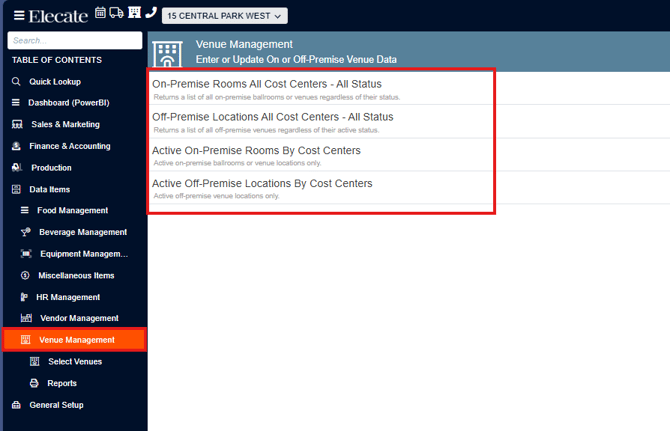
7. Venue Management
1. On the left side panel, go to Data Items:
2. Go to Venue Management and then click on any of the following 4 options below:
3. You can either open an existing item or create one by clicking on the New Entry option:
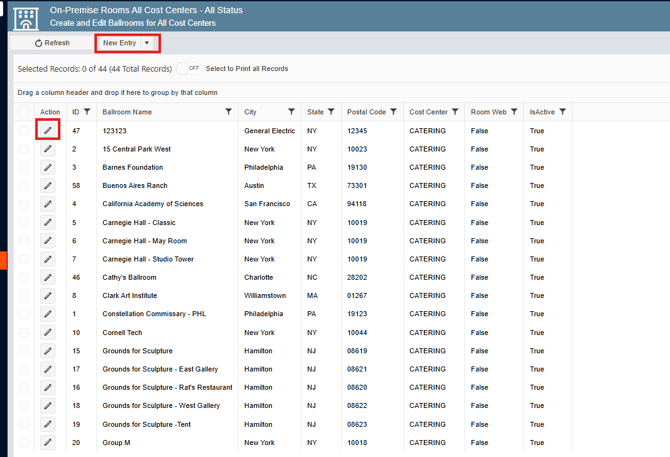
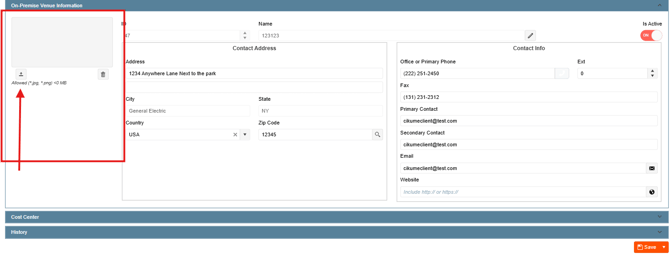
4. On the left side of the window, you just need to click on this icon ![]() , in order to upload the image:
, in order to upload the image:
CREATING PROPOSALS WITH YOUR IMAGE LIBRARY
Once you have built your Image Library with high-quality photos, you can leverage these images directly in your event proposals. The proposal functionality allows you to showcase your offerings visually to customers, making it easy for them to visualize their events and make booking decisions.
Before you can create a proposal with images, you must first create an event order. This is a critical first step because it reserves the event date, establishes the customer information, locks in availability, and provides the foundation for all proposal details.
For complete step-by-step instructions on creating a new event order, see:
📖 How to Create a New Event Order
Step 1: Access Event Management & Create/Open Event
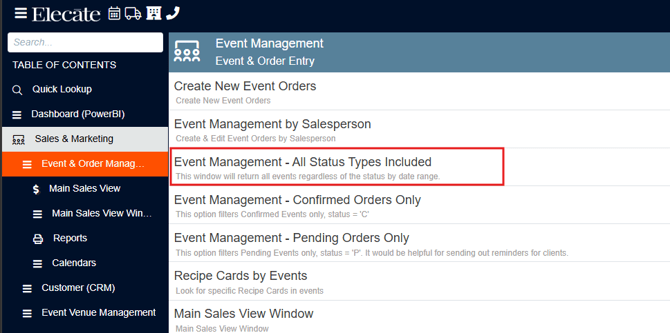
- Go to Sales & Marketing (left panel)
- Select Event & Order Management
- Choose Event Management - All Status Types Included
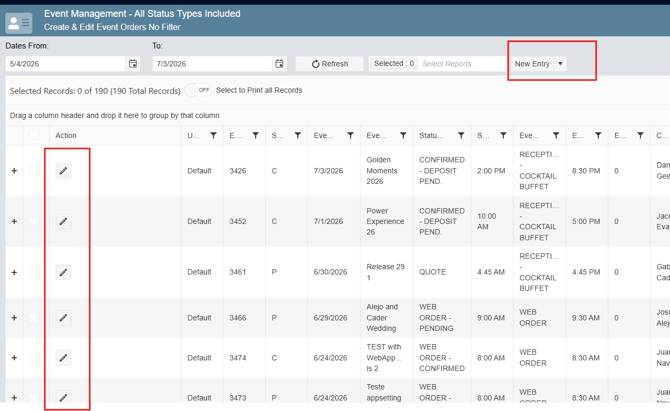
4. Either create a new event or open an existing event (click pencil icon)
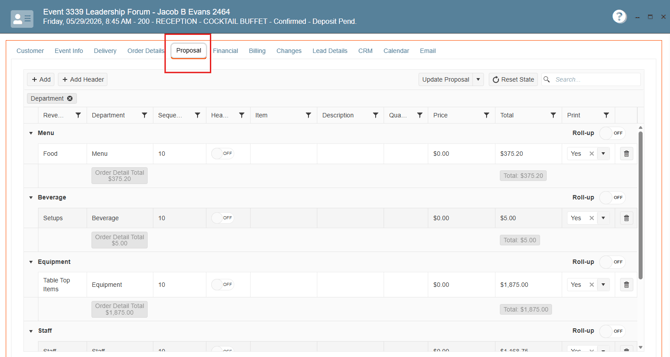
5. You will see the Proposal Tab available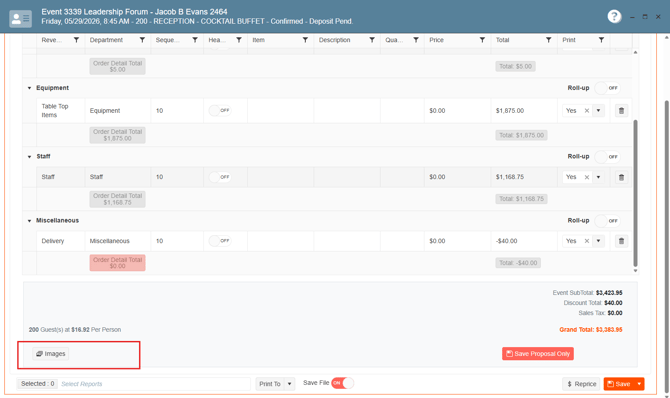
6. Scroll down on the left side panel to locate the "Images" button
7. Click the "Images" button to open the Image Management - Add/Edit Images for an Event window
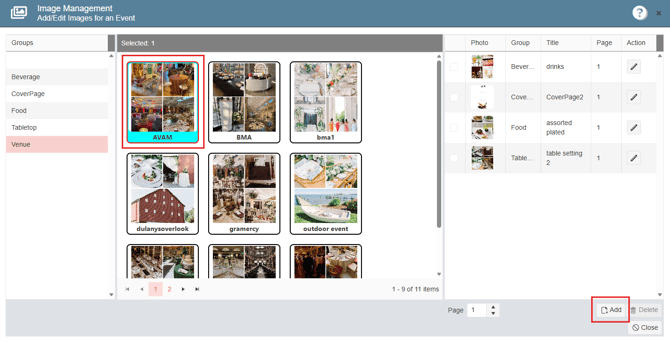
8. Browse through the image groups (Beverage, Food, Venue, etc.)
9. Click on the images that best relate to your proposal and represent your offering professionally,
Click the "Add" button to include it in your proposal.
10. Close the Image Management window once you've finished selecting all images
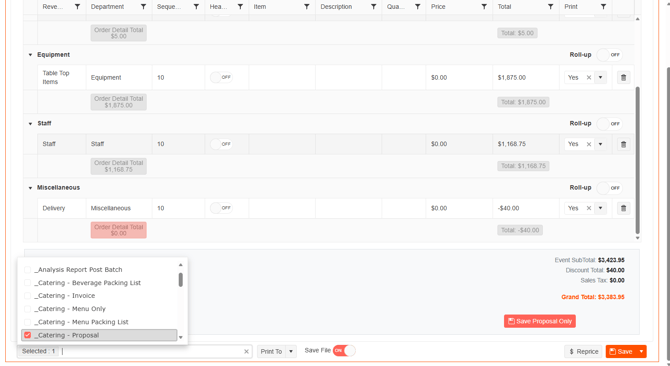
11. Select your proposal format from the available options.

12. Select your proposal format from the available options.
- If you chose Preview:
- A Proposal Preview Screen opens showing your proposal with all selected images
- Review layout, image placement, and content
- Make adjustments if needed
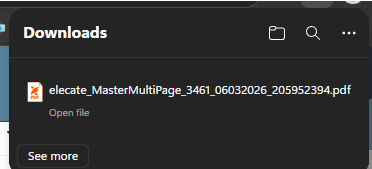
- If you chose a File Format (PDF, Word, PowerPoint, Email):
- The file automatically downloads to your browser's Downloads folder
- The proposal is ready to share with your client
- Navigate to your Downloads folder to access the file
- Share via email, portal, or your preferred communication method