From the Data Items section, users can add images to items within various categories, making it easier to visually identify and select the appropriate item for an event, proposal, or report.
Image Overview Table
All images should maintain the same visual crop, lighting, and clarity, scaled appropriately for their use.
|
Image Type |
Primary Use |
Aspect Ratio |
Recommended Dimensions |
Max File Size |
Format |
Notes |
|
Default Image |
Main listing and gallery views |
1:1 |
500–800 px |
< 500 KB |
JPG or PNG |
Crisp, centered, and well-lit |
|
HiRes Image |
Print, marketing, large displays |
1:1 |
1500–2500 px (>96 dpi) |
< 2 MB |
JPG or PNG |
Highest quality version of Default Image |
|
Large Image |
Pop-ups, detail pages |
1:1 |
1000–1500 px |
< 1 MB |
JPG or PNG |
Clear detail and texture |
|
Thumbnail Image |
Search results, quick selects |
1:1 |
150–300 px |
< 100 KB |
JPG or PNG |
Sharp and easily recognizable |
From Food:
1. On the left side panel, go to Data Items:
2. Click on Food Management, go to Recipe Management (All Items):

3. You can either open an existing item or create one by clicking on the New Entry option:
4. On the left side of the window, you just need to click on this icon ![]() , in order to upload the image:
, in order to upload the image:

If the selected image exceeds the allowed maximum the following message will appear:
If you have images that exceed the recommended KB, resize the image and upload. This will help with report performance and load times in the event screen.
From Beverage:
1. On the left side panel, go to Data Items:
2. Go to Beverage Management and Click on Beverage Management (All Items)
3. You can either open an existing item or create one by clicking on the New Entry option:

4. On the left side of the window, you just need to click on this icon ![]() , in order to upload the image:
, in order to upload the image:
 If you have images that exceed the recommended KB, resize the image and upload. This will help with report performance and load times in the event screen.
From Equipment:
1. On the left side panel, go to Data Items:
2. Go to Equipment Management and click on Equipment Management (All Items);
3. You can either open an existing item or create one by clicking on the New Entry option:

4. There are 2 different ways to add images from Equipment, the first one: On the left side of the window, you just need to click on this icon ![]() , in order to upload the image:
, in order to upload the image:

Second option: Go to the Description Tab and look for the Attach & Update Images section, on this window you can add more than one image, related to the item, you will have to upload images on the Default and Thumbnail option, however we have 2 more options where you can upload images the High Resolution and the Large image fields.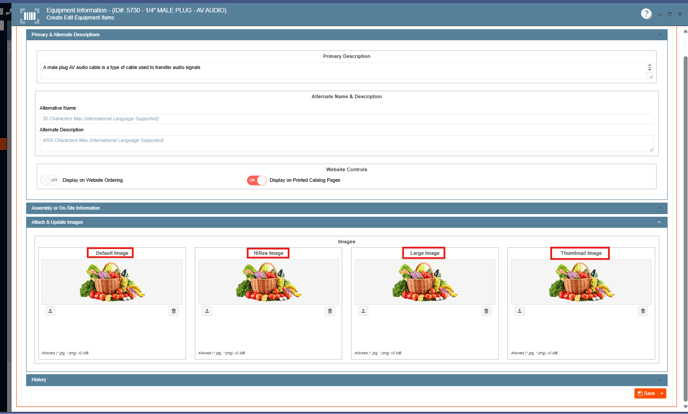
If the images exceed the recommended maximum, the following error message will pop-up, resize the image and upload: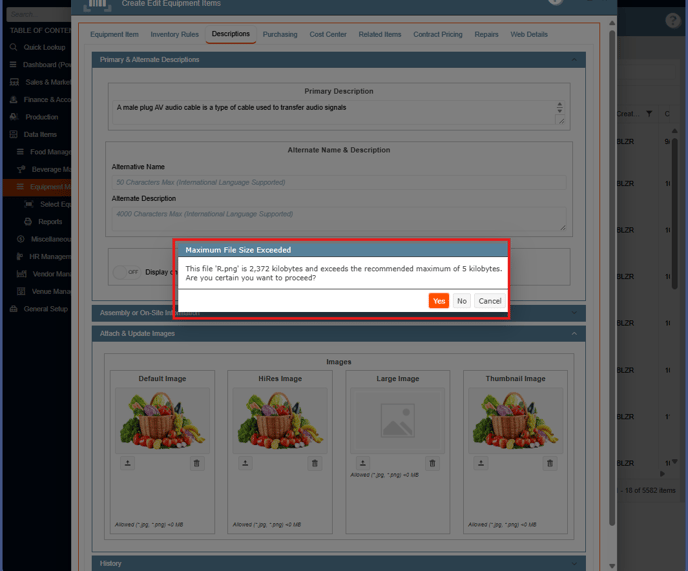
From Miscellaneous:
1. On the left side panel, go to Data Items:
2. Go to Miscellaneous and click on Miscellaneous Item Management (All Items):
3. You can either open an existing item or create one by clicking on the New Entry option:

4. On the left side of the window, you just need to click on this icon ![]() , in order to upload the image:
, in order to upload the image:
 If you have images that exceed the recommended KB, resize the image and upload. This will help with report performance and load times in the event screen.
From HR Management:
1. On the left side panel, go to Data Items:
2. Go to HR Management and click on HR Management (All Staff):

3. You can either open an existing item or create one by clicking on the New Entry option:

4. On the left side of the window, you just need to click on this icon ![]() , in order to upload the image:
, in order to upload the image:
 If you have images that exceed the recommended KB, resize the image and upload. This will help with report performance and load times in the event screen.
From Vendor:
1. On the left side panel, go to Data Items:2. Go to Vendor Management and Vendor Management - All Vendor:

3. You can either open an existing item or create one by clicking on the New Entry option:

4. On the left side of the window, you just need to click on this icon ![]() , in order to upload the image:
, in order to upload the image:

If you have images that exceed the recommended KB, resize the image and upload. This will help with report performance and load times in the event screen.
From Venue:
1. On the left side panel, go to Data Items:
2. Go to Venue Management and then click on any of the following 4 options below:

3. You can either open an existing item or create one by clicking on the New Entry option:
4. On the left side of the window, you just need to click on this icon ![]() , in order to upload the image:
, in order to upload the image:
 If you have images that exceed the recommended KB, resize the image and upload. This will help with report performance and load times in the event screen.
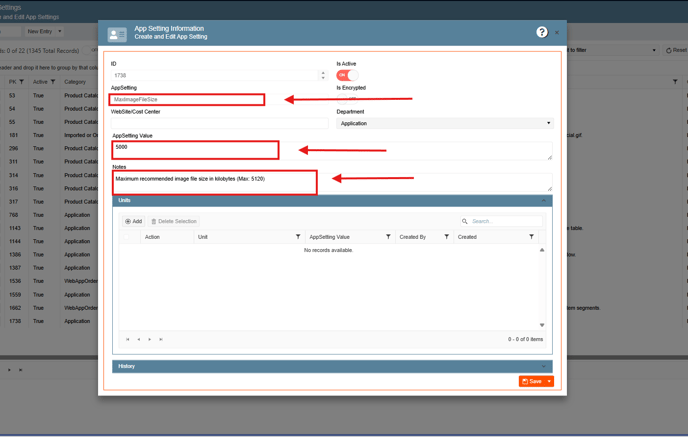
The user can change the image size through the settings, how they can do it:
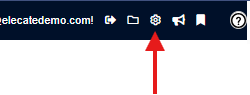
1. At the top of the screen, on the right side click on the Gear Icon:
2. Look for App Settings:
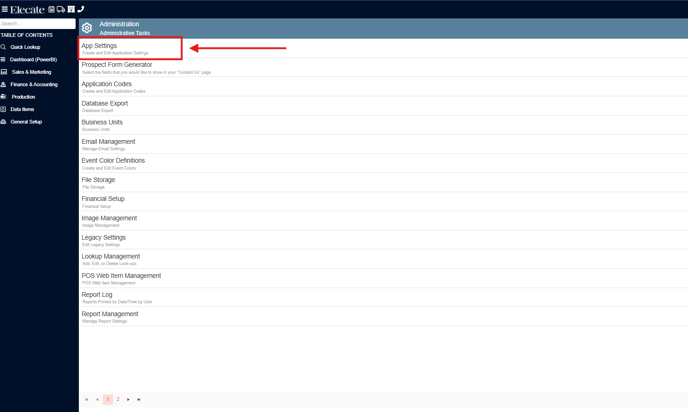
3. In the search field type MaxImageSize (Maximum recommended image file size in kilobytes Max: 5,000):