1. Adding the sync endpoint when saving report files from the Event Editor Window, Sales and Client App:
Report generation from the Event and Order Management module was verified in Empower. Reports are downloaded in PDF format and displayed correctly.
In the mobile app, when logging in as an administrator, event attachments are displayed correctly when selecting View Attachment.
1. In the left side panel, go to Sales & Marketing
2. Click on Event & Order Management
3. Select Event Management - All Status Types Included
4. Open an existing event
5. Go to the Event Info Tab, open the Event Files section

Mobile App:

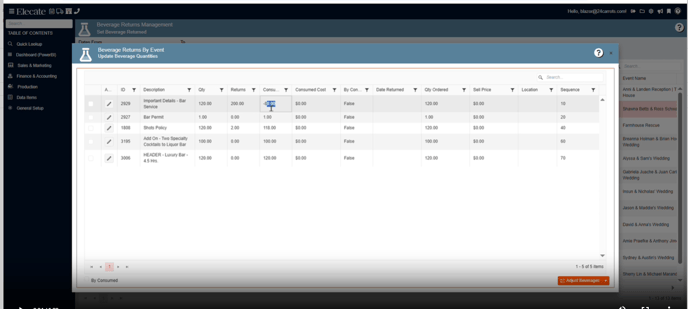
2. Having the "Beverage Returns" "decimals" feature available from WPF:
- In WPF there's a feature that allow you to introduce "decimals" in the "returned" field within the "Beverage Returns by Event" section.
- Allow users to input decimals on the "Returned" field that can be found on the Beverage Returns By Event window.

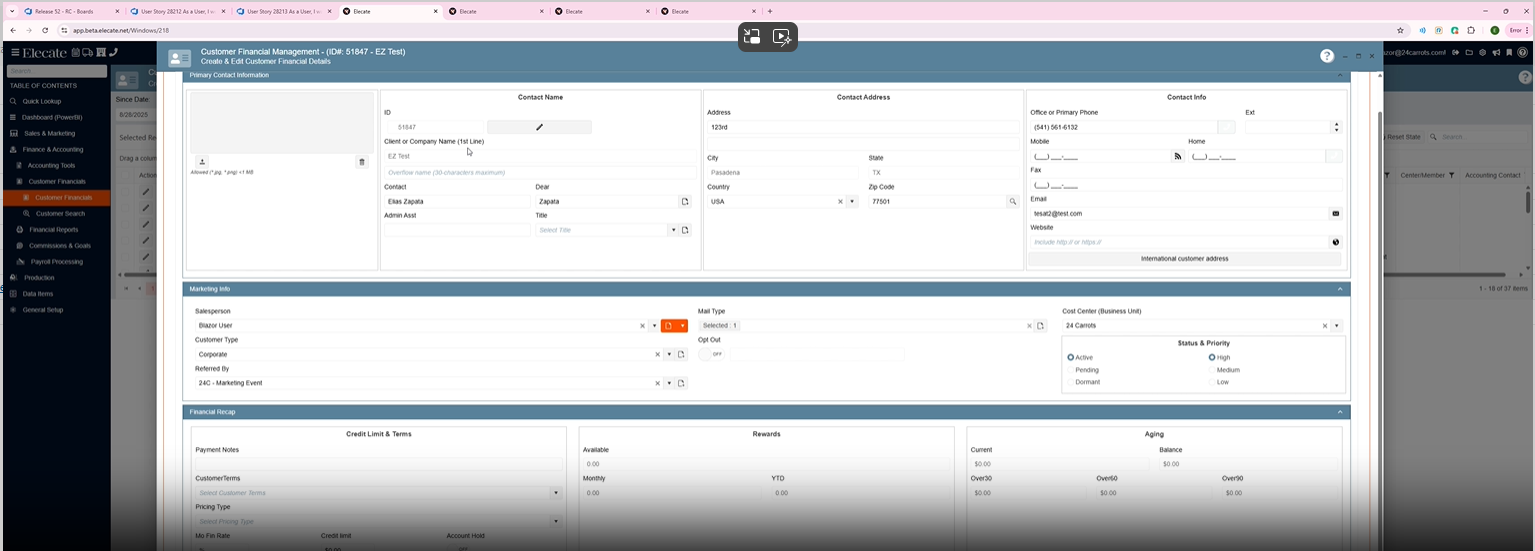
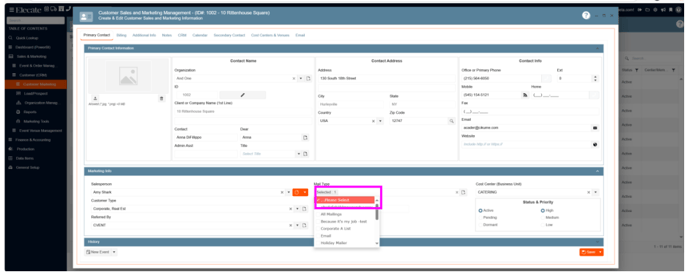
3. Having a default value set up for the "MailType":
- Set up a new entry for Mailtype called "...Please Select"
- For the appSetting "DefaultMailType" set the value of "...Please Select"
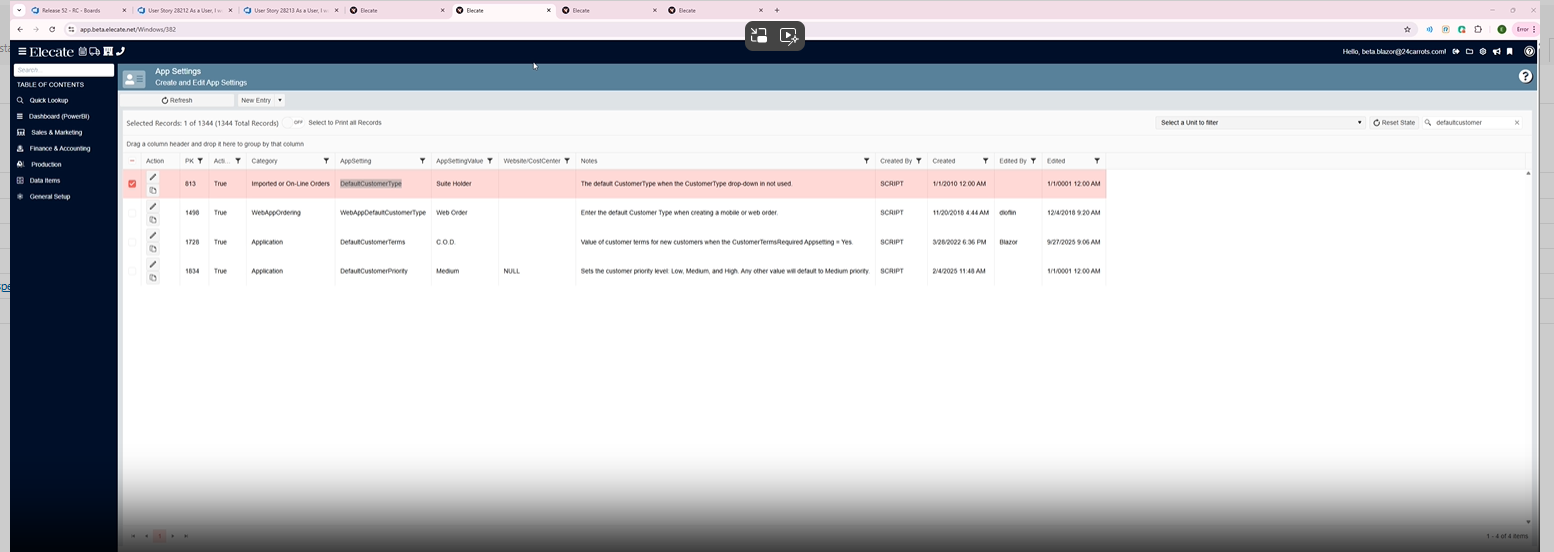
1. At the top of the screen, at the right side click on the Gear Icon
2. Look for App Settings
3. In the search bar type in "DefaultMailType", set the value to Yes
Then
4. On the left side panel, go to Sales & Marketing
5. Click on Customer (CRM)
6. Choose Customer Marketing
7. Select Customer Sales and Marketing Management
8. Open an existing customer by clicking on the pen Icon
9. Go to the Marketing Info section

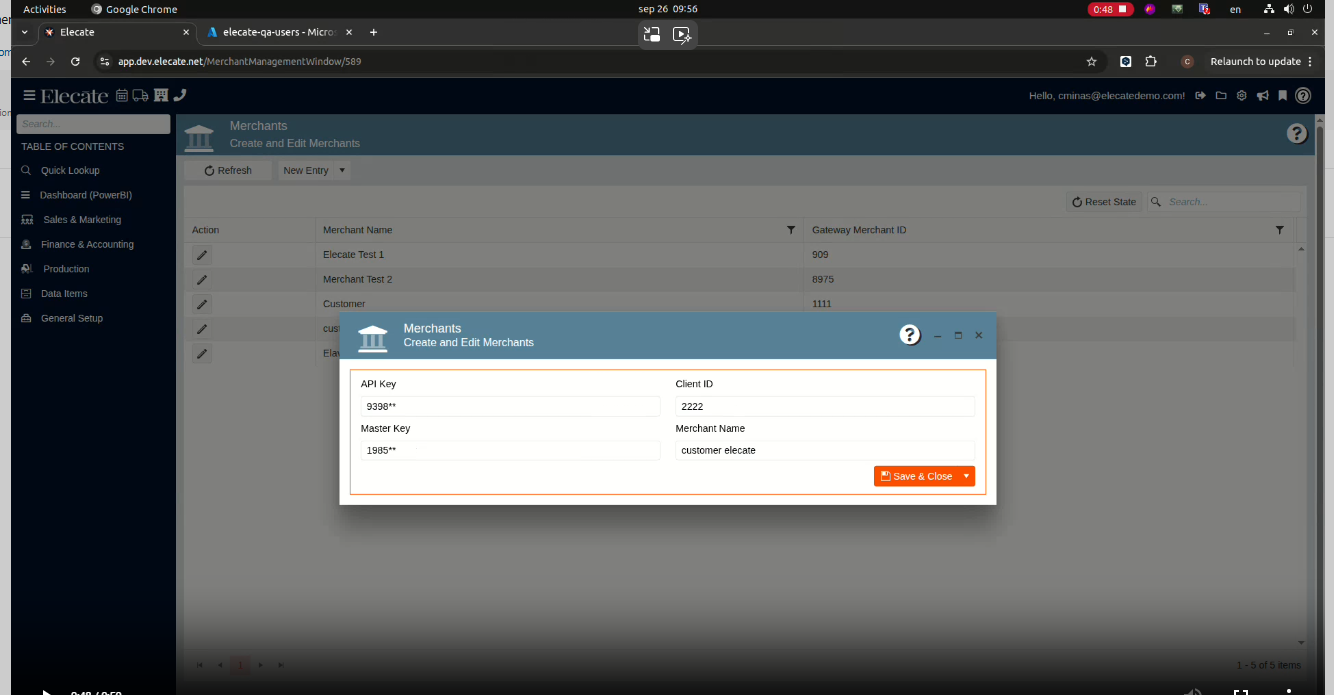
4. Identifying when a merchant has an API key and API secret:
- Apply the report in the following sections:
- Data Items:
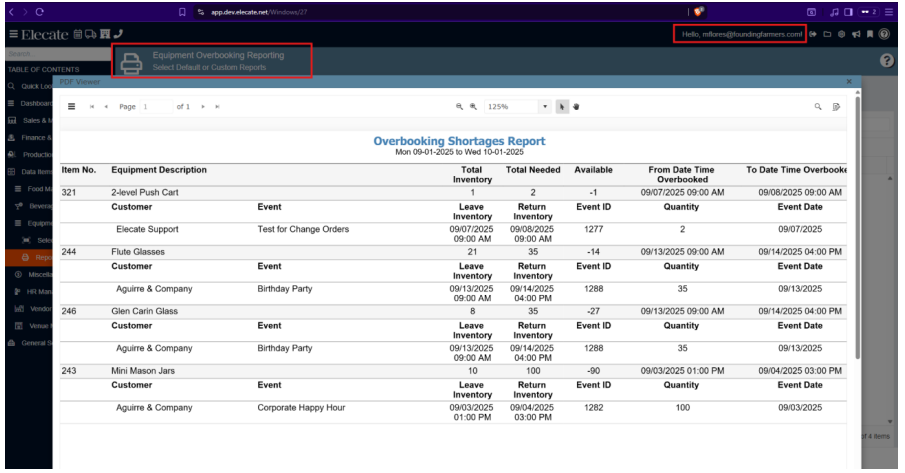
- In Data items, in equipment reports we need it in the following windows:
- Equipment Overbooking Reporting
- Single Item Equipment Overbooking
- Equipment Overbooking Threshold.
- In Data items, in equipment reports we need it in the following windows:
- Data Items:
Equipment Overbooking Report:
Single Item Equipment Report:
Equipment Overbooking Threshold:
6. Needing the Delivery Direction field change to a normal text box:
- The Delivery Direction was changed from a hidden password field to a normal text box field.
- If a user adds a "value" when selection the "Use Custom" text box, then as soon as the user goes back into that window, they must be able to see the value that they have entered previously. (Refer to the last screenshot added).
1. On the left side panel, go to Sales & Marketing
2. Click on Event & Order Management
3. Select Event Management - All Status Types Included
4. Open an existing event by clicking on the pen icon
5. Go to the Delivery Tab
6. Choose the Delivery Directions button
7. In the following box, select the Use Custom button, enter the Delivery Direction, click on OK, if you need to update the information on that field, you just need follow the same steps.

7. [Synchronization] [Shopping Cart], the core team work on the ReferredBy Records to PostgreSQL via Shop-Sync API:
-
Create ReferredBy Record:
- When a new
ReferredByrecord is added, the system must send a POST request to:'https://shop-sync.dev.elecate.net/sync/to_pg/referredby//' - The request must include all necessary data for the new record.
- When a new
-
Update ReferredBy Record:
- When an existing
ReferredByrecord is updated, the system must send a PUT request to:https://shop-sync.dev.elecate.net/sync/to_pg/referredby//' - The request must reflect the updated data.
- When an existing
-
Delete ReferredBy Record:
- When a
ReferredByrecord is deleted, the system must send a DELETE request to:https://shop-sync.dev.elecate.net/sync/to_pg/referredby//'
- When a
-
Error Handling:
- If the API call fails, the system must log the error and retry the operation up to 3 times.
- Failures must be visible in monitoring/logging tools used by the Core team.
-
Security:
- All API calls must be authenticated and follow existing security protocols.
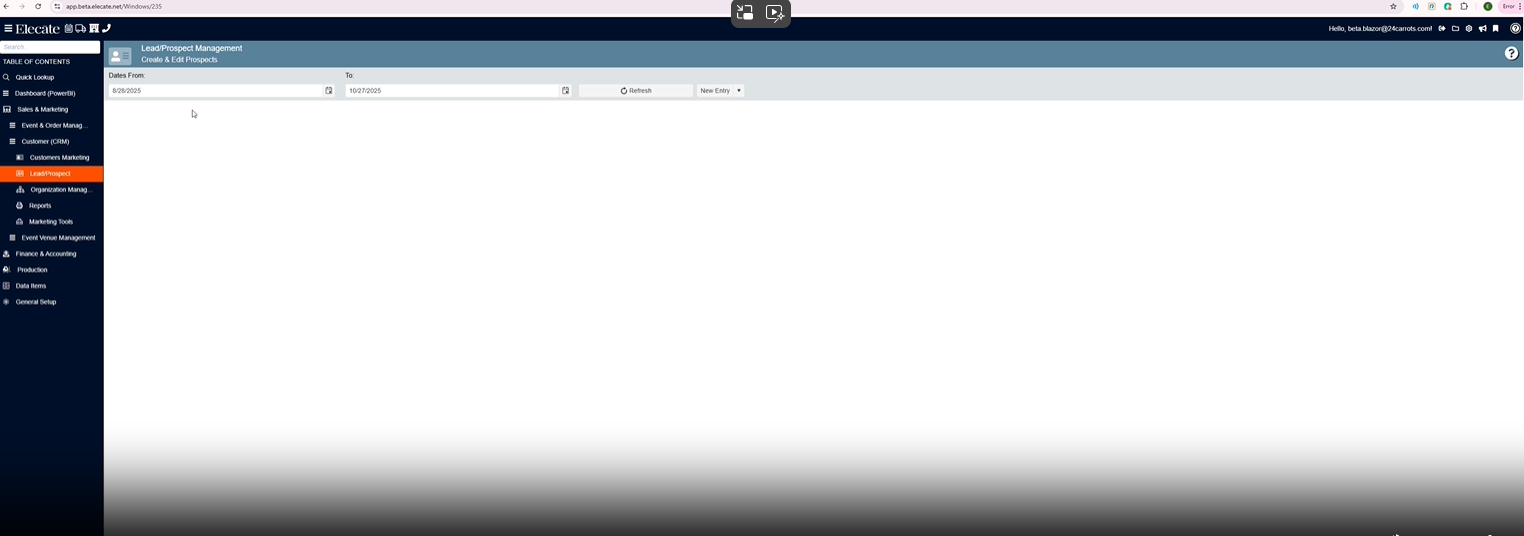
8. Wanting that prospects become customers, to have the value for the "DefaultCustomerTerms" appSetting in it:
- "When a prospect is converted into a customer, the system should apply the value of 'DefaultCustomerTerms' to the newly created customer. This will only occur if the app setting 'CustomerTermsRequired' is set to 'Yes'
-
When a new prospect is created, the message "Insert, Record inserted successfully!" should be removed.
- Header: Customer Created
- Message: Prospect ID [enter prospect ID] has been successfully converted into a customer. The new Customer ID is [enter customer ID]. Do you want to open the item?
- Buttons: OK / Cancel
When a prospect is converted into a customer, the prompt should be updated as follows: