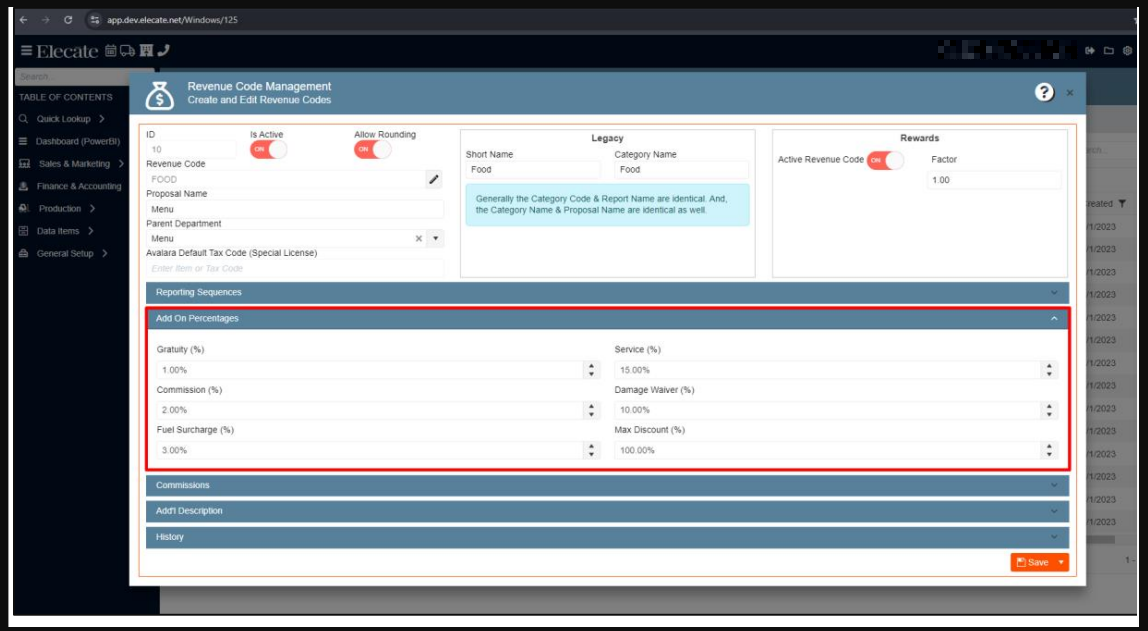
Release notes 10.09.24:
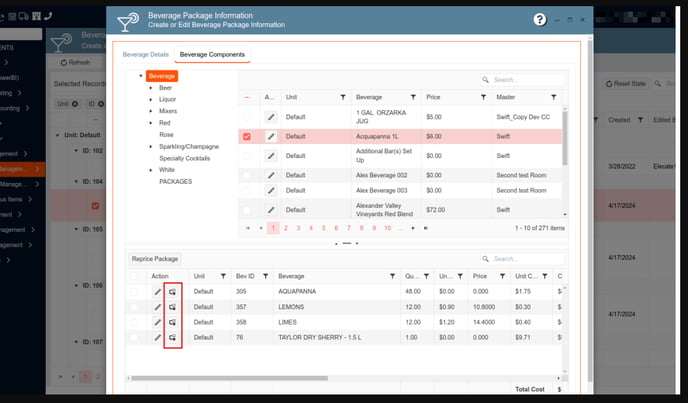
1. Linking the Beverages items inserted into an event with their available substitution options:
If the item is in a bundle and substitution options are available, the system should display a drop-down with the list of available substitution options.
1. On the left side panel, go to Data Items
2. Click on Beverage Management
3. Select Beverage Package Management
4. Select an item, go to Beverage Components
2. Changing the label of the field ¨Center# | Mender# | VAT#¨ to the Billing Account Number:
The ¨Center# | Mender# | VAT#¨ label was changed to ¨Billing Account Number¨
1. On the left side panel, go to Sales & Marketing
2. Click on Customer (CRM)
3. Select Customer Sales and Marketing Management
4. Choose a record on that window, by clicking on the pen icon
5. Go to the Billing Tab, then look for the Details section

3. Creating a service for the staff data Sync:
When an administrator inserts or updates a staff record into the database fire two events:
- Sync the event with the Sync API
- Create staff credentials into the dev auth provider
4. Creating a new button in the Menu Prep Window to allows culinary users to create a new recipe to be saved in the database:
Under the action column of the Menu Prep Window a third icon was added to allow the culinary user to save a recipe as a new recipe item in the database. Additionally, this action will add COPIED to the end of the recipe name.
1. On the left side panel, go to Production
2. Click on Kitchen Management
3. Select Main Kitchen View
4. Click the pencil to open the Menu Prep Window
5. Add an icon in the Action column that opens a recipe information screen (data items -> food management -> Recipe Management (all items)) and allows the user to create a new recipe to be saved to the database


5. Adding a new button on the Beverages Order to indicate that the Beverage order is ready for operations:
When the beverage orders are submitted the questionnaire doesn´t appear, since this one was appearing before when the user pressed the submitted order button, additionally the status will automatically change to submitted in the production window
1. On the left side panel, go to Sales & Marketing
2. Click on Event Order Management
3. Select Main Sales View
4. Scroll down to Beverages
5. Press the paper airplane icon - this should change the status on the Main Production Screen and Main Sales Screen in the Beverage column to submitted.

6. Needing my Beverage order to appear as Submitted in the Main Sales View and Main Production View after submitting my Beverage order:
Once a sales user has submitted their beverage order, the beverage column of the Main Sales View and Main Production View will reflect the order as submitted.
1. On the left side panel, go to Sales & Marketing
2. Click on Event Order Management
3. Select Main Sales View
4. See Beverage column
- The status here should be Submitted
ALSO
5. On the left side panel, go to Production
6. Click on Event Production
7. Select Main Production View
8. See Beverage column
- The status here should be Submitted
7. Changing the Beverage status order from New to N/A:
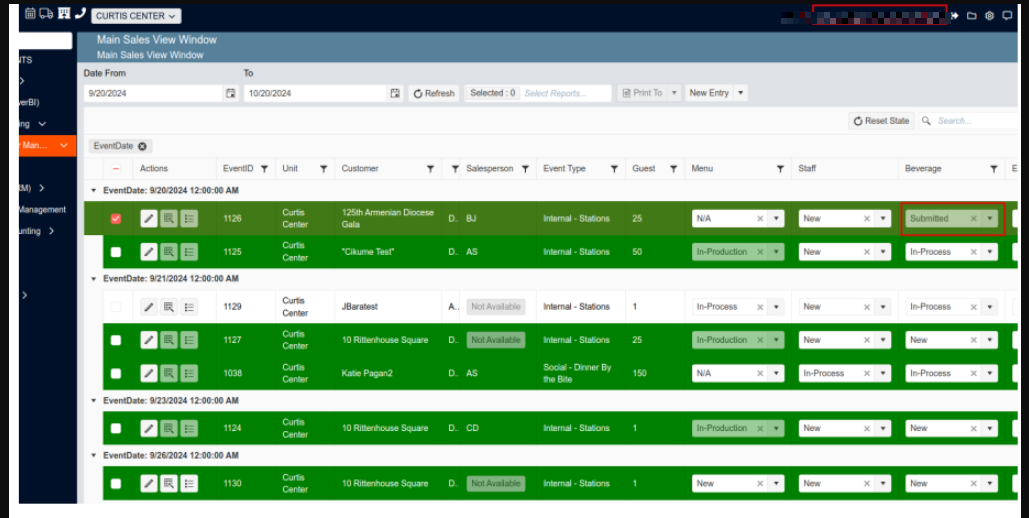
When the status of the beverage order column is set to "N/A" on the Main Sales View, it automatically updates to "N/A" on the Main Production View as well. This ensures consistency across both views. Additionally, if a Beverage item is added, the status of the order will change to In- Process on both windows.
1. On the left side panel, go to Sales & Marketing
2. Click on Event & order Management
3. Select Main Sales View
4. In the beverage column, the sales user changes the status to N/A
THEN
5. Select Production
6. Choose Event Production
7. Click on Main Production View
8. The beverage order column of the same event now reflects the N/A status

8. Updating staff order status to ¨In-Process¨ when staff is added:
The status in the Main Sales View and Manin Staffing view column will update from ¨New¨ to ¨In-Process¨ when the user adds staff to the order.
- Sales user adds a skill type to their order by:
1. On the left side panel, go to Sales & Marketing
2. Click on Event & Order Management
3. Select Mail Sales View Window
4. Clicking the pencil icon to open an event
5. Go to Order details tab
6. Adding staff - By doing this:
1. On the left side panel, go to Sales & Marketing
2. Click on Event & Order Management
3. Select Mail Sales View Window
4. Choose Staff Order column status changes to In-Process - AND:
1. On the left side panel, go to Production
2. Click on Event Staffing
3. Select Main Staffing View
4. Choose status column changes to In-Process
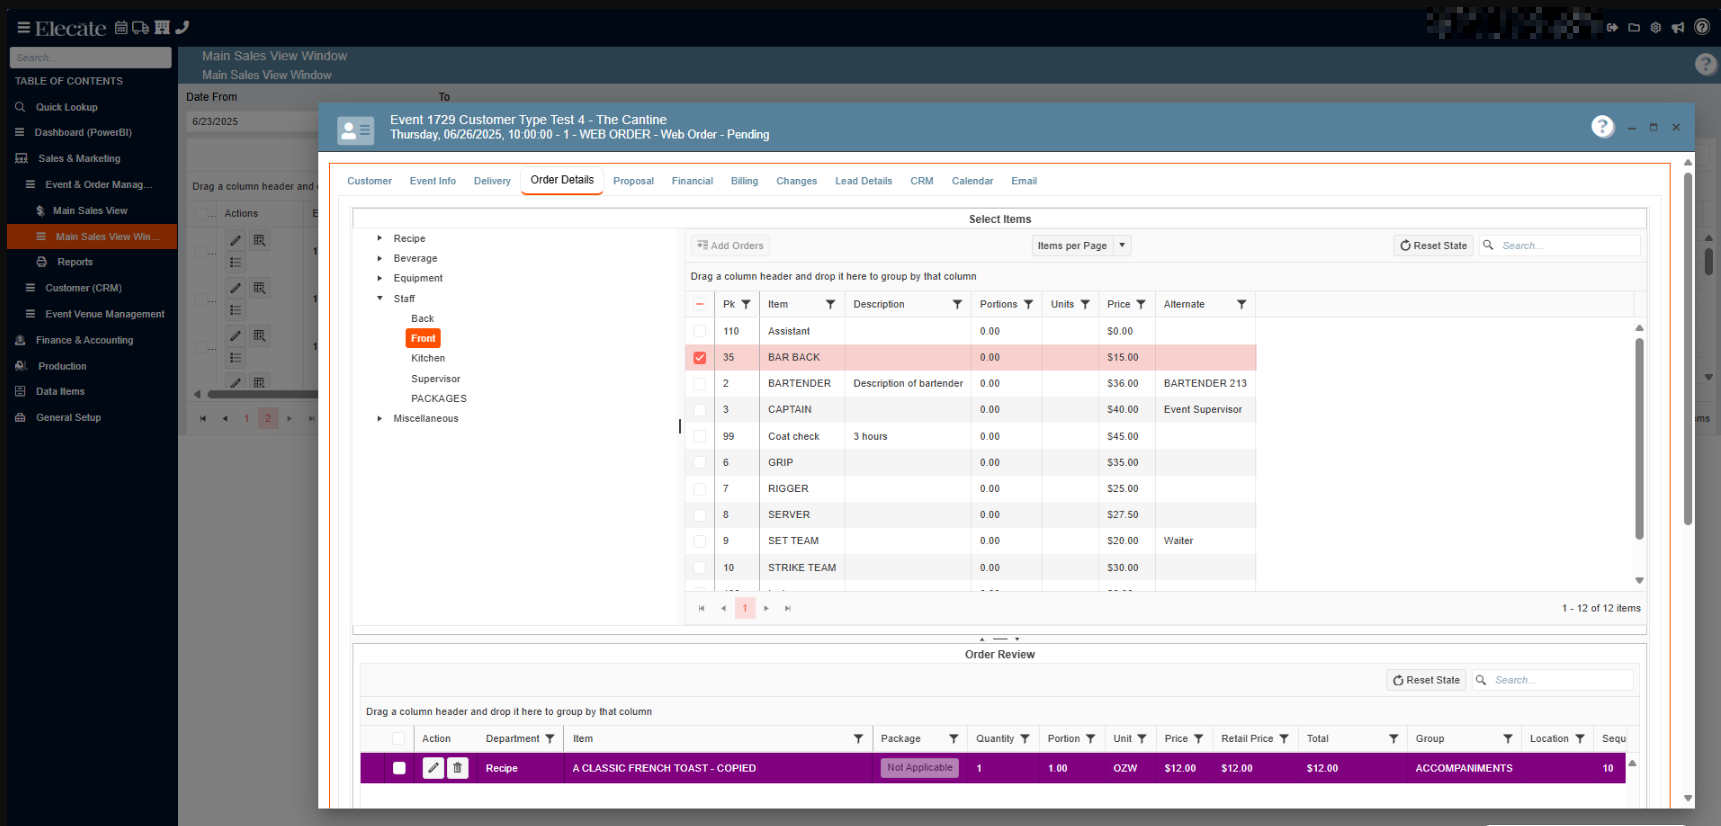


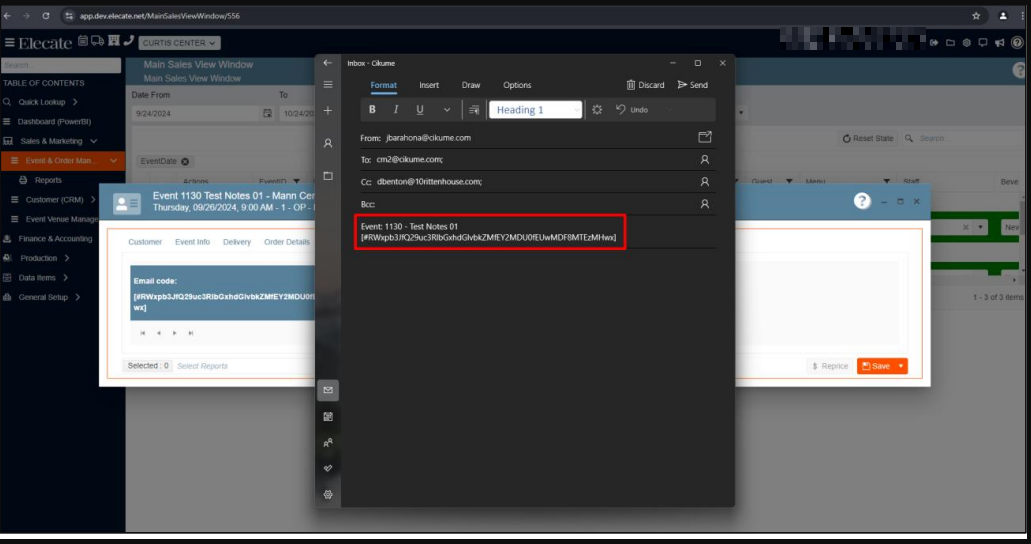
9. Modifying the email threading so the user can view the email title first and then the code in the subject field of the email:
In the Subject field of the email threading the Code will appear after the main title of the email.
1. On the left side panel, go to Sales & Marketing
2. Click on Event & Order Management
3. Select the Main Sales View Window
4. Open an event on that window, by clicking on the pen icon
5. Go to the Email Tab
10. Synchronizing required entities with the Sync API:
It was centralized the logic for the Sync API call process for those elements that use FusionEditorBase, additionally it was customized call for Events, Order Items and staff Scheduling.
11. Disabling recipes to be marked after adding a new package menu, as set in the appsettings:
The deactivated recipes will show with color as specified in the appsetting, so the user can be aware when they are trying to add a deactivated recipe to the menu package, additionally the user will not be able to add the recipe to the order.
1. On the left side panel, go to Sales & Marketing
2. Click on Event & order Management
3. Select Main Sales View
4. Open an order
5. Order Details tab
6. Under Recipe, add a menu package

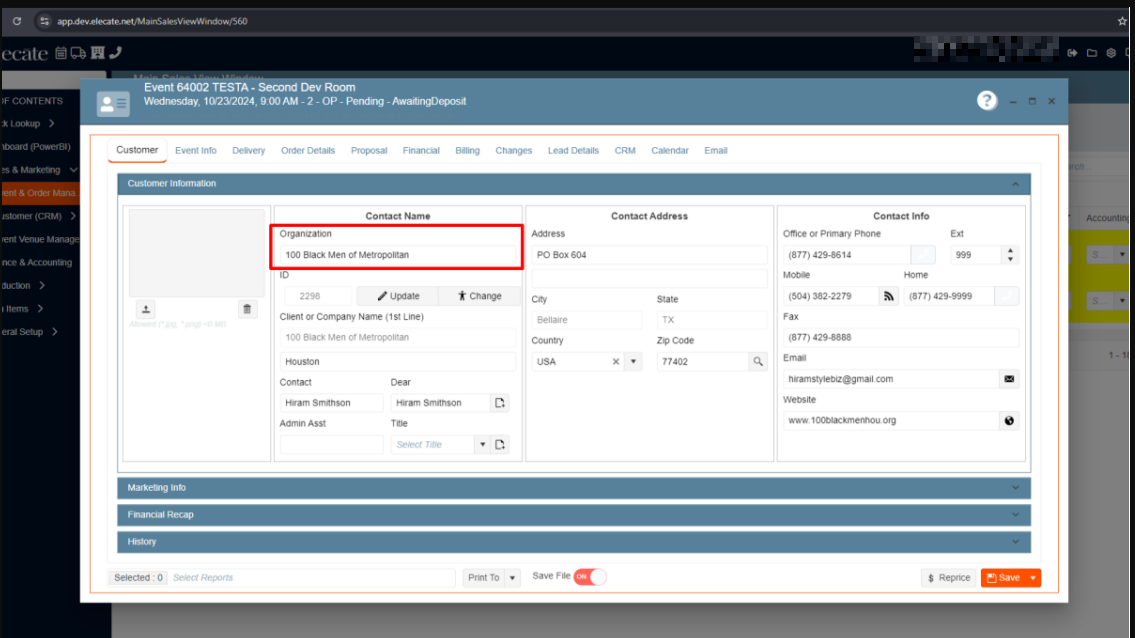
12. Adding the organization field into the Event Info Customer Window:
The organization field was added to the event info customer window, additionally the Organization field is a read-only field in the contact name window.
1. On the left side panel, go to Sales & Marketing
2. Click on Event & Order Management
3. Select Main Sales View
4. Open an event and look at the Customer tab and add the Organization field
13. Creating new changes between the Prospect editor window and the Organization Management window:
The user can create a new organization from the prospect editor window; this information will be displayed in the organization management window with the member type ¨Prospect¨, the customer organization control in the customer editor window should act as the one in prospect (It will read data from both customer and prospect).
1. On the left side panel, go to Sales & Marketing
2. Click on Event & Order Management
3. Select Customer (CRM)
4. Go to Lead/Prospect
5. Select a record on that window and go to the Primary Contact tab.


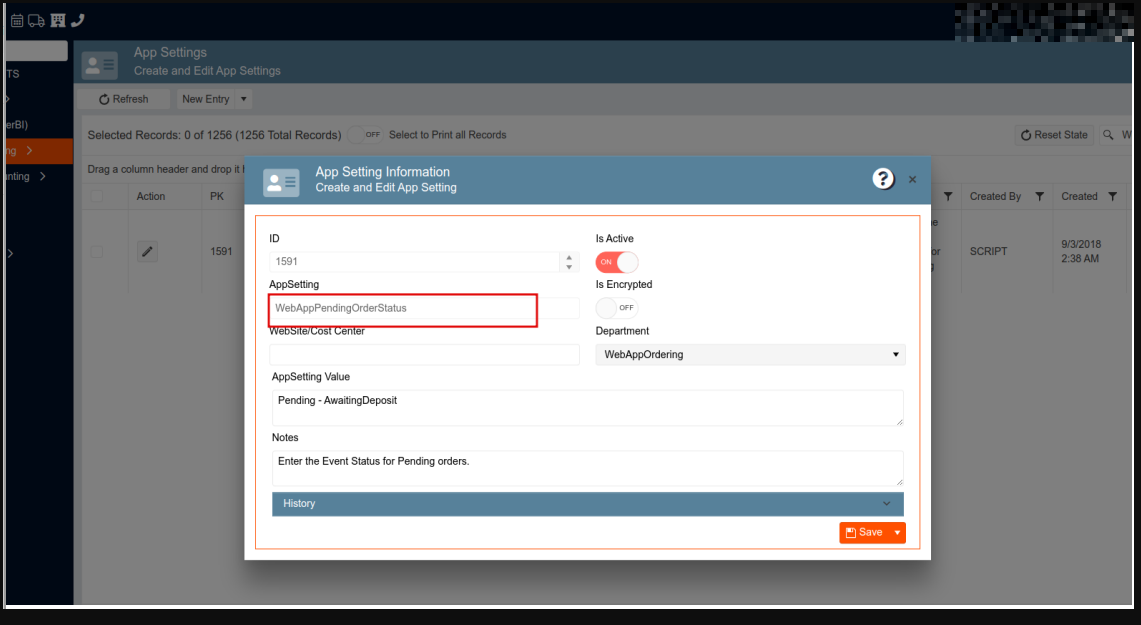
14. Working in the Syn between Empower and the Shopping Cart to allow the customer to send over the events from Blazor to the Shopping Cart:
It was added the functionality that allows the user to send the events from the app to the shopping cart.
1. At the top of the screen, on the right side you will see the Gear Icon
2. Click on the Gear Icon
3. Choose App Settings
4. Look for WebAppPendingOrderStatus
15. Incrementing Hardware and replicas in Helm:
This process was successfully completed.
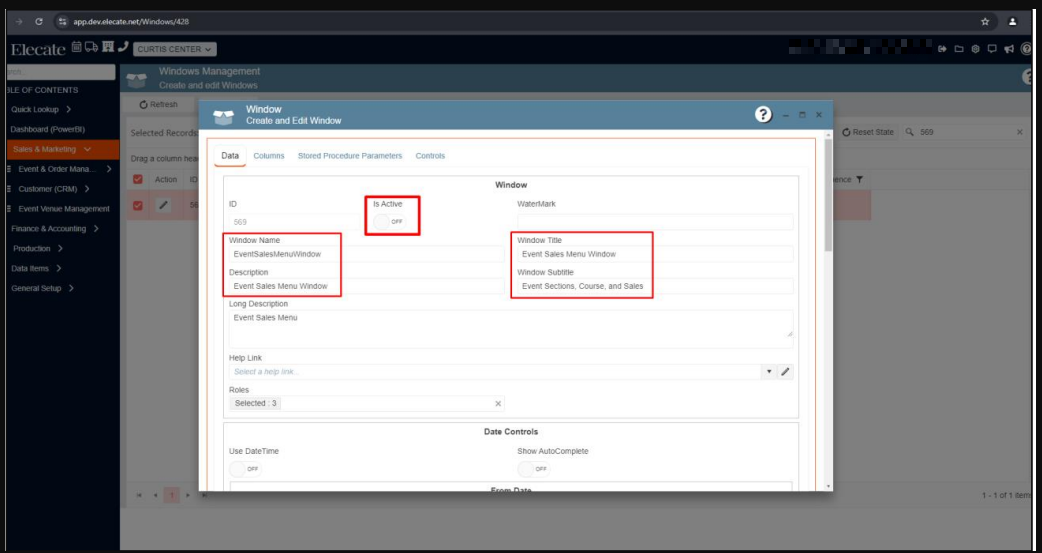
16. Turning off the ¨Is Active¨ field in Cikume DB´s and change the wording:
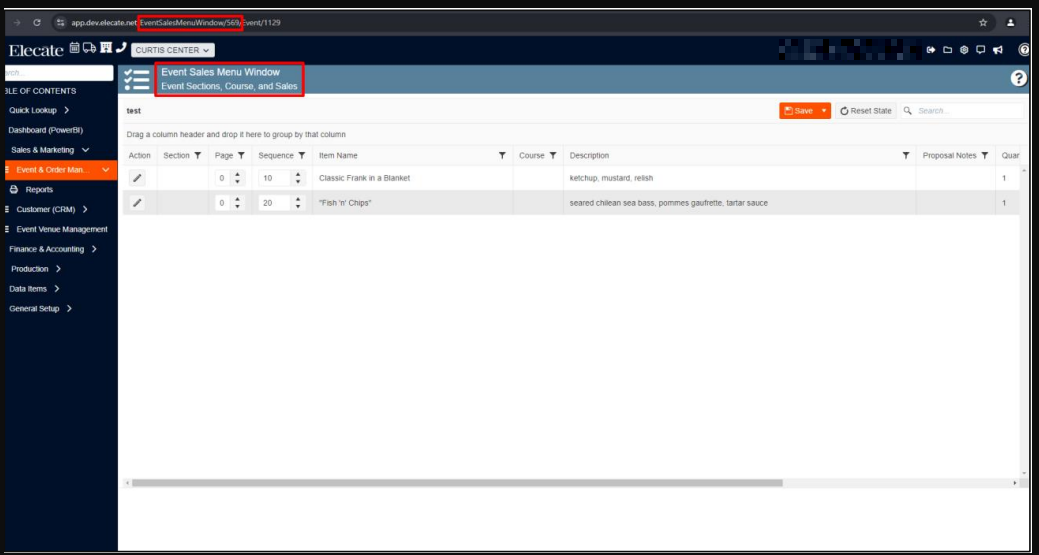
It was turned off in all DBS in the Cikume tenant the ¨Is Active¨ field, in the window 569 called ¨EventSalesMenuWindow¨, additionally the following wordings were changed: Window Name: EventSalesMenuWindow, Window Title: Event Sales Menu Window, Description: Event Sales Menu Window, Window Subtitle: Event Sections, Course, and Sales.
1. At the top of the screen, on the right side you will see the Gear Icon
2. Click on the Gear Icon
3. Look for Windows Management (second page)
4. Click on it, make sure the Is Active toggle is OFF
Then
5. On the left side of the panel, go to Sales & Marketing
6. Click on Event & Order Management
7. Select Event Sales Menu Window
17. Creating a new separate instance of the Elior Environment only for the Elecate Team:
It was created a new instance, using the unit logic and this can be accessed by Cikume, Kristin, Chris and Frank, the new instance is loaded with data items (5 in each category) imported via the import tool, all of which has been validated by Kristin/Chris/Frank, the instance is running free of data related error messages.
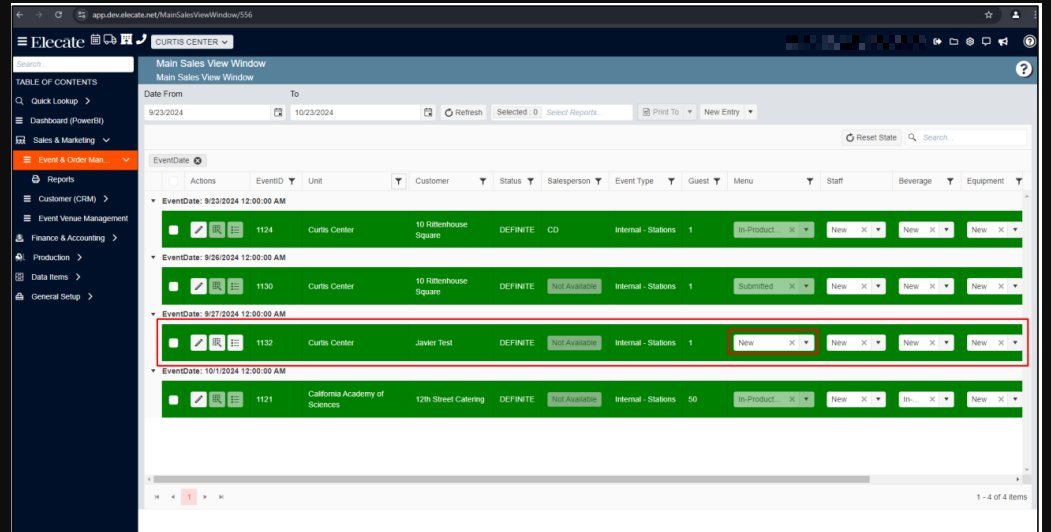
18. Connecting the submitted status to the Menu Column between the Main Sales View and the Main Kitchen View:
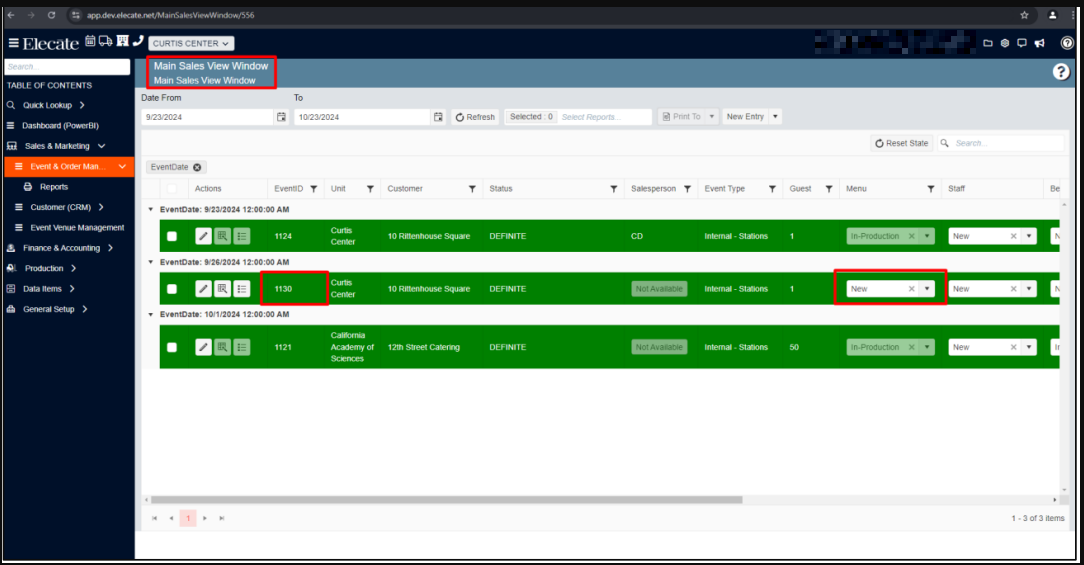
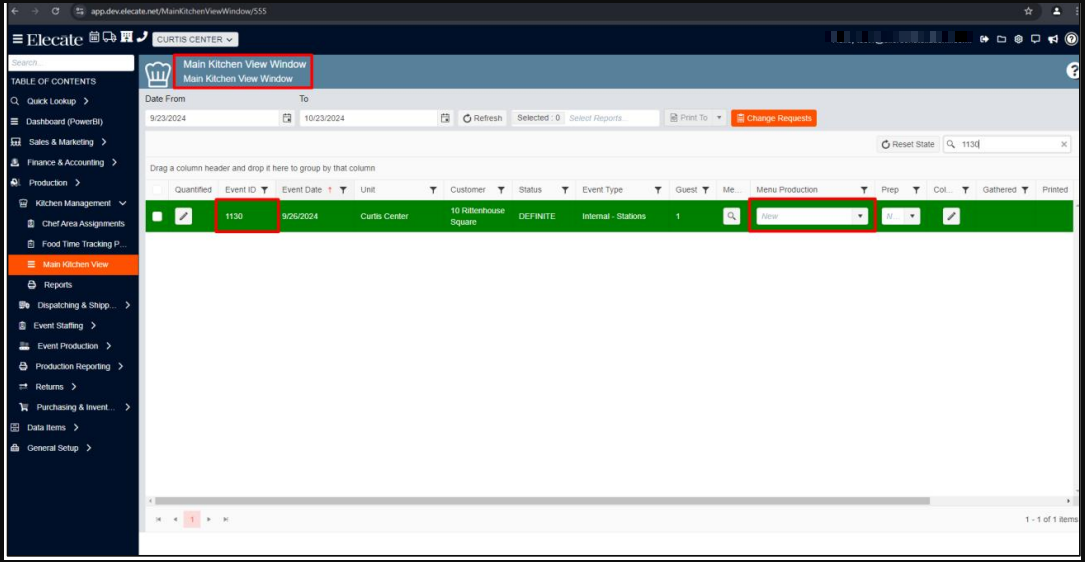
When an event has a submitted status in the menu column on the Main Sales View window, the same submitted status will show in the menu column on the Main Kitchen View window
1. On the left side panel, go to Sales & Marketing
2. Click on Event & Order Management
3. Select Main Sales View
4. Go to the Menu Column and check the status
OR
5. On the left side panel, go to Production
6. Click on Main Kitchen View
7. Go to the column that says: Menu Production
19. Updating the Default Menu Production Status to ¨New¨ on Main Kitchen View instead of ¨Status¨:
When the user creates an event, if they go to the Main Kitchen View Window in the Menu Production column the status of that event will be ¨New¨ instead of ¨Status¨.
1. On the left side panel, go to Sales & Marketing
2. Click on Event & Order Management
3. Select Create a new Event Order
4. Fill in the required information, then save & close
THEN
5. On the left side panel, go to Production
6. Click on Kitchen Management
7. Click on Main Kitchen View
8. Go to the Status column, check if the event status is ¨New¨
20. Synchronizing the Financial Setup on SQL server with Postgres:
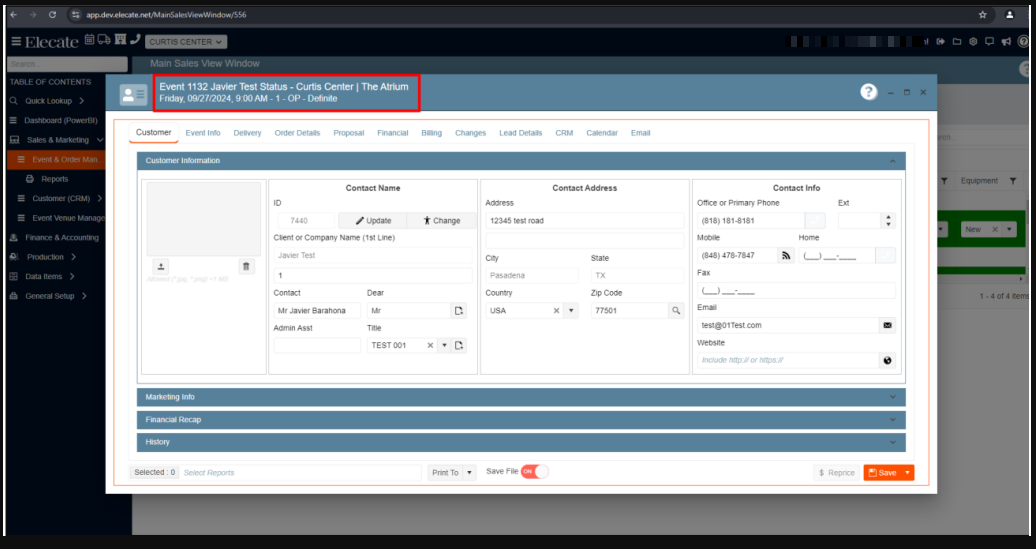
It was implemented the Sync between the Shopping Cart and the Elecate Core App.


