1. Removing all the duplicates entries in specific the 539 and 540 windows:
It was removed the duplicate entries that we have in the menu option for Event Terms.
1. At the top of the screen, on the right side you will see the Gear Icon
2. Click on the Gear Icon
3. Look for Financial Setup


2. Changing the user appsetting and password from SSRS to a secret keyvault in Azure:
The task of creating secrets in the Dev environment's KeyVault, as requested, has been successfully completed.
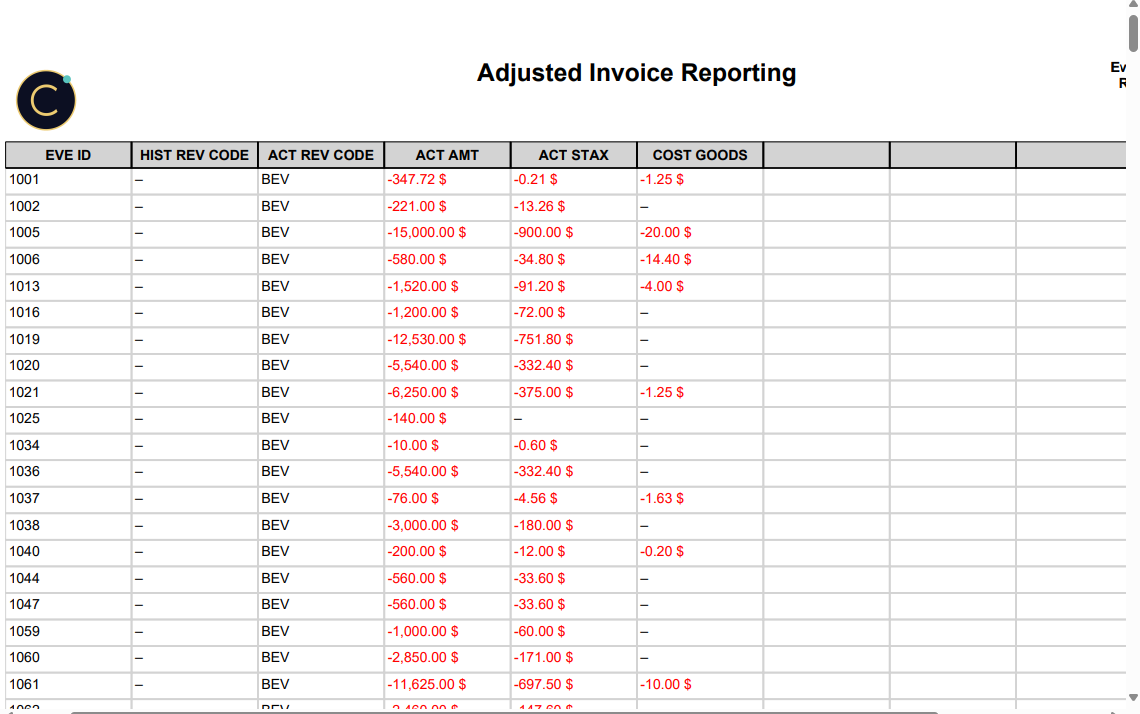
3. Implementing a new adjusted invoice report for accounting:
An adjusted invoice report with the following columns is now available:
Event ID with -1 added to the end of it, Type, Unit Number, Date, Total Adjustment, Cost, Account, Dist Type (in their current report, 3 = revenue and 9= payment or discount), Amount, in addition to showing credit/debit adjustments, this report documents how money is moved from one category to another.
1. On the left side panel, go to Finance & Accounting
2. Click on Financial Reports
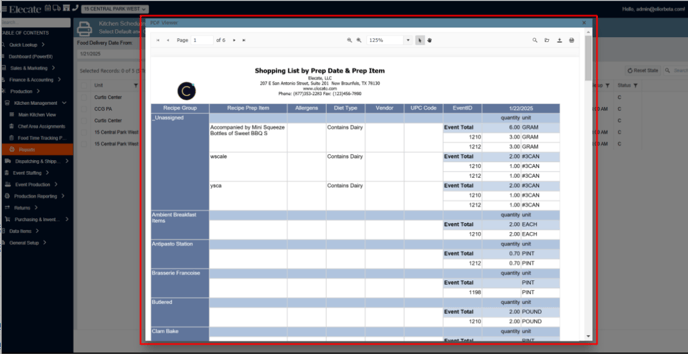
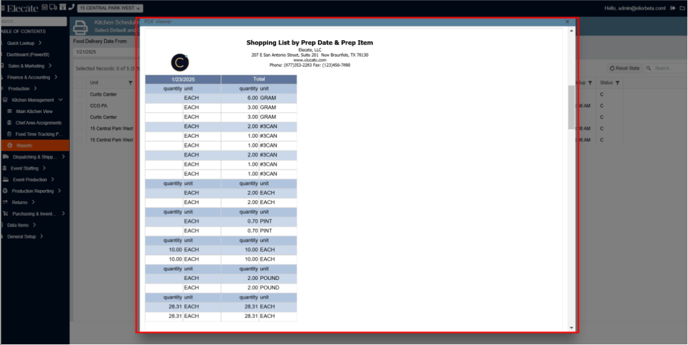
4. Creating a Shopping List by Prep Date & Prep Item:
It was created a shopping cart report, that includes the following data: Group would be Recipe Group, Ingredient would be Recipe Prep Item, Event ID still exists, Quantity still exists, Date would be potentially two (or two reports).
1. On the left side panel, go to Production
1. On the left side panel, go to Production
2. Click on Kitchen Management
3. Select Reports
4. Choose Food Production and Scheduling Reporting
5. Working on new enhancements and fixes for the Event Sales Menu:
Now the “Unit price” and “Total” values are displayed in currency. The “Edit online”
button is still present and the upper right button saves the changes in the grid.
button is still present and the upper right button saves the changes in the grid.
1. On the left side panel, go to Sales & Marketing
2. Click on Main Sales View
3. Go to the Notes Icon (Select Open Event Sales Menu)
The values in the 'Unit Price' and 'Total' columns now display in currency:
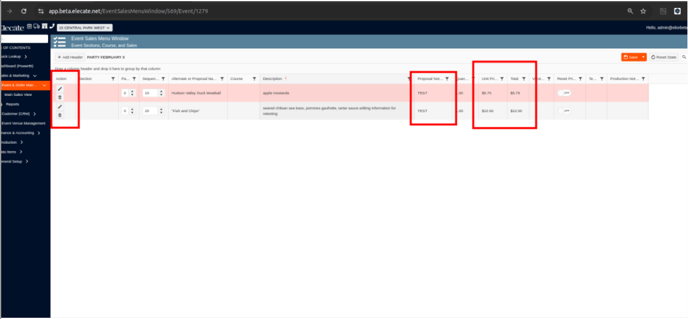
The “Edit online” button remains, while the button at the top right now saves the changes
made to the grid after editing:
made to the grid after editing:
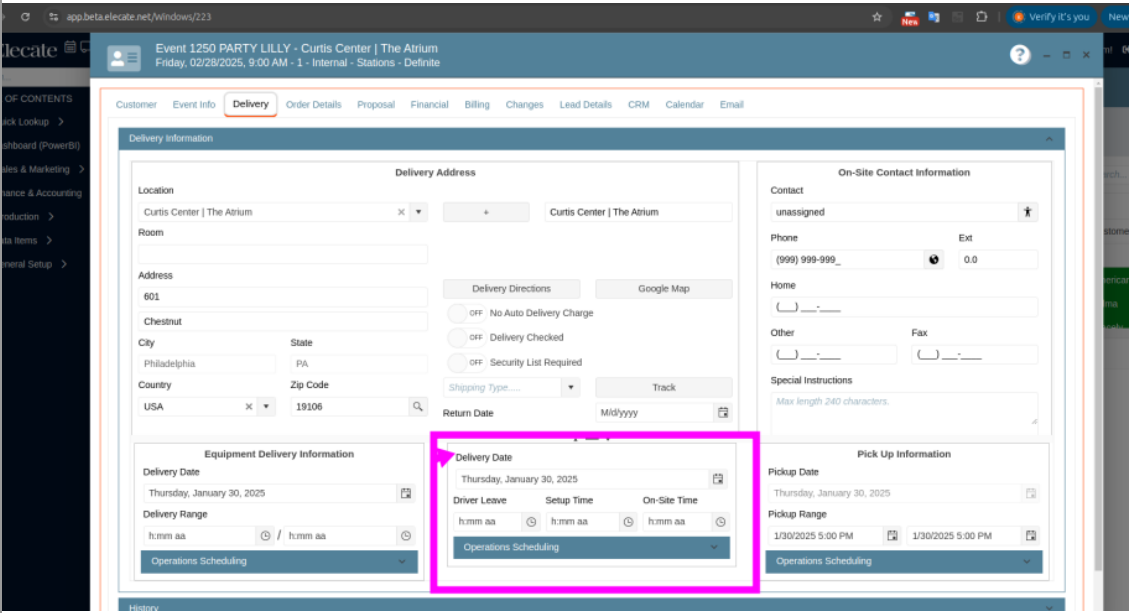
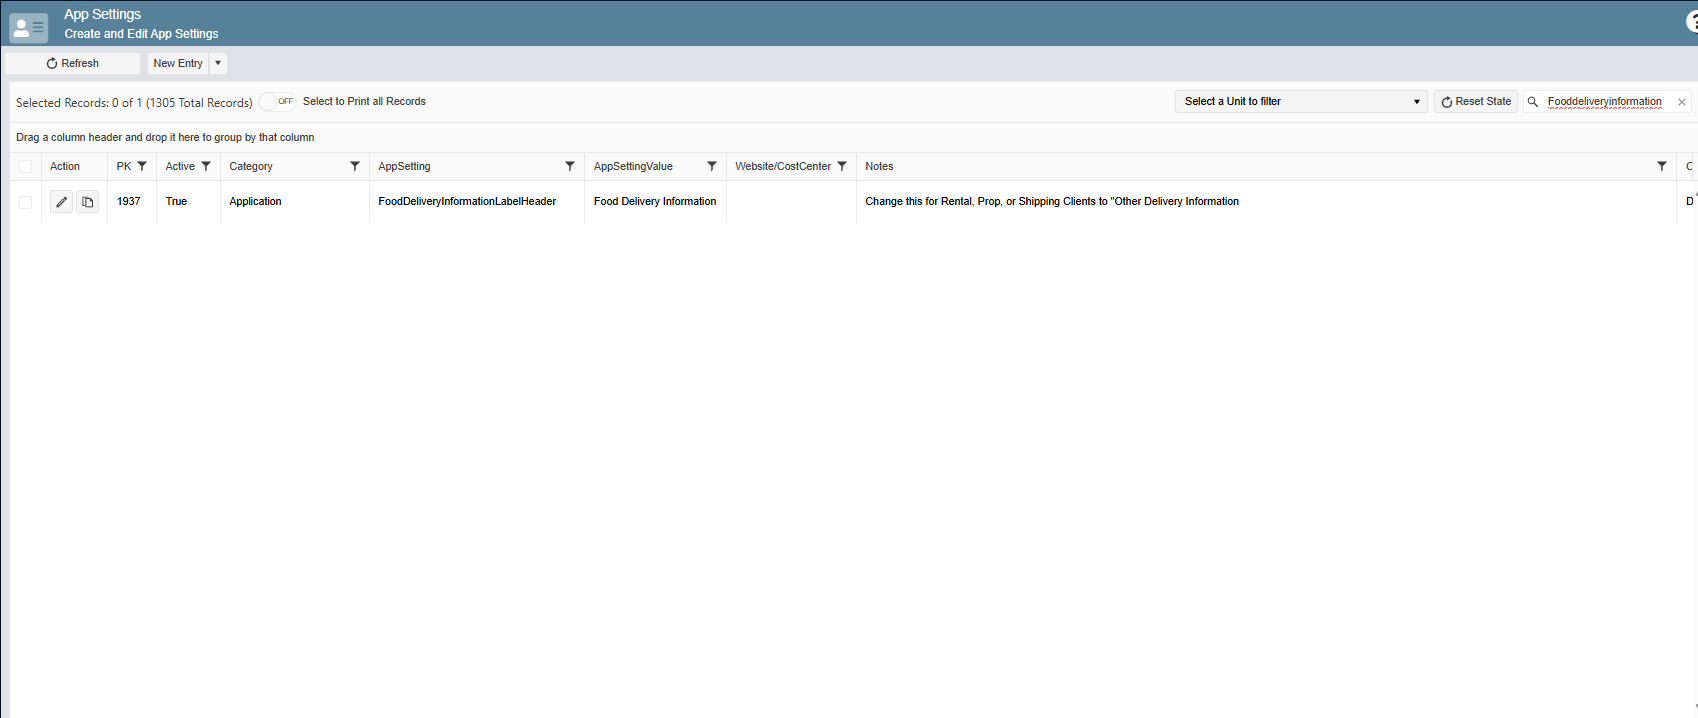
6. Creating an app setting to change the "Food Delivery Information" to "Other Delivery Information" for the rental clients:
A new setting is available in the app settings menu. Users can change between "Food Delivery Information" and "Other Delivery Information." The selected option is saved and displayed correctly in the Event Delivery Information. The change is reflected in all relevant sections of the app where delivery information is displayed.
1. At the top of the screen, on the right side you will see the Gear Icon
2. Click on the Gear Icon
3. Select App Settings
4. Look for ¨FoodDeliveryInformationLaberHeader¨
THEN
5. On the left side panel, go to Sales & Marketing
5. On the left side panel, go to Sales & Marketing
6. Click on Event & Order Management
7. Select Event Management - All Status Types Included
8. Go to the Delivery Tab
Before: 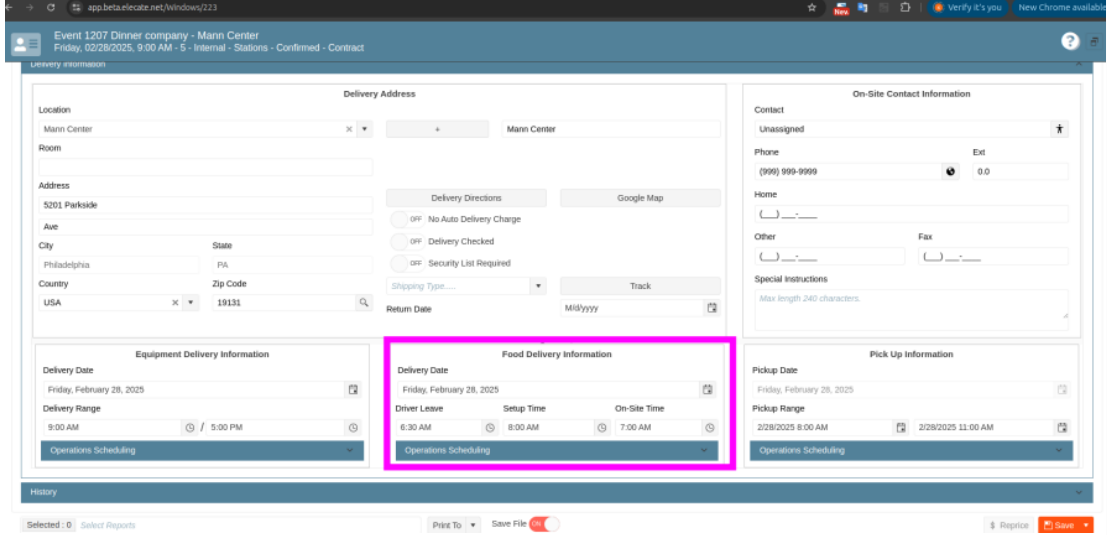
After: