1. Reflecting the setup from the database of the Elior Brands:
All catalogs must be visible according to the rules outlined in the attached PDF. Every time a new entity is created (beverage, equipment, event, etc.), it must be assigned to the unit selected in the top drop-down list.
Akim Gump Strauss Hauer & Feld LLP:
Apollo:
2. Changing Two Proposal Fields to Drop Downs:
The Item and Description field formats have been changed to a "Dropdown List" (including the option to free type or choose from a visible drop down value), this is set for the Columns found in the "Proposal" windows. The "Item" column that currently pulls a dropdown list, needs to be shown from the beginning instead of typing a word to shown as a result.
1. On the left side panel, go to Sales & Marketing
2. Click on Event & Order Management
3. Select Main Sales View
4. Open an event by clicking on the pen icon
5. Go to the Customer Information tab
6. In the Customer Information section, you will see the Client or Company Name dropdown menu
7. Then go to the Proposal Tab and try to add an item, save the information

3. Updating the Accounting Export Screen for New Procedures:
Exporting Sales data, Exporting Cash Receipts data. The App setting AccountingExport will have three new values: EliorCustomerExport, EliorSalesExport, EliorCashReceiptsExport.
1. On the left side panel, go to Finance & Accounting
2. Click on Accounting Tools
3. Select Accounting Exports Window


4. Deactivating selected Reports for Elior:
Elior Databases will only contain 45 active reports, as listed in the spreadsheet above, a script has been written so that all Elior databases can have the same reports available.
1. On the left side panel, go to Sales & Marketing
2. Click on Event & Order Management
3. Select Reports
4. Choose Event Bookings Reporting

5. Managing the General App Settings in Empower Web:
Admins can define app settings specific to "Units", as an admin user, I can use the Copy functionality to clon an existing appsetting, additionally can edit an appsetting in the edit window.
6. Updating Main Staffing View to Pencil Icon Functionality:
- New
- N/A
- In Production
- Ready for Invoicing
- Submitted
- In Process
- Returned
1. On the left side panel, go to Production
2. Click on Event Production
3. Choose Main Production View
The pencil is enabled so that users can click and access the corresponding order: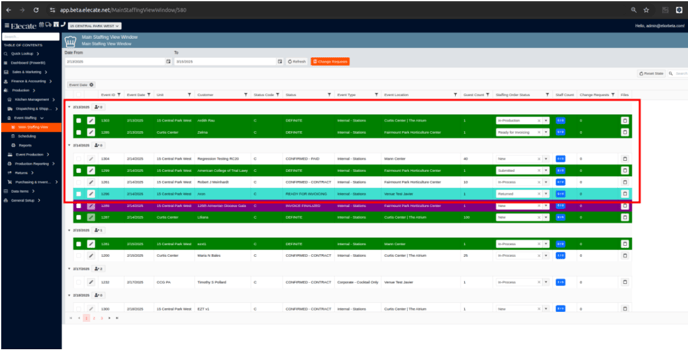
trying to click, no action is generated.

7. Warning prompt to avoid deleting Assigned Skill Types before unassigning them:

8. Implementing changes on the "Proposal" modal window in order to improve the current functionality:
The following changes were made on the proposal tab: Remove the action column, add a sequence column (Defaults to count by 10), Add a "Add Header" button, create a print column, create a column to place a delete button.
1. On the left side panel, go to Sales & Marketing
2. Click on Event & Order Management
3. Select Event Management - Confirmed Orders Only
4. Open an event by clicking on the pen icon
5. Go to the Proposal Tab

9. Adding a status column in the Unassigned Skill type for the staff members:
The Code Status column is already added to the Unassigned Skill Types Modal.
1. Click on Production
2. Display the Event Staffing View
3. Select the Main Staffing View.
4. Drag to the grid filter the Event Date column option.
5. Click on the person icon button located beside the date to open the Unassigned Skill Types Modal

10. Converting the Void Transaction Amount Field to be a Read-Only Field:
The Void Transaction Amount Field was converted to be a Read-Only Field.
1. On the left side panel, go to Sales & Marketing
2. Click on Event & Order Management
3. Select Event Management - All Status Types Included
4. Go to the Financial Tab and look for the Payment Schedule section


11. Changing the Event Delivery Modal Window functionality when executing a new event:
The Event Delivery Dates modal window will not appear when a new event is created, this window will appear only if the user is changing the date from an existing event.
1. On the left side panel, go to Sales & Marketing
2. Click on Event & Order Management
3. Select Event Management - All Status Types Included
4. Go to the Event Info and Delivery Tab


12. Working on the sync the discount function applies in the Shopping cart:
Synchronization applying discounts in the shopping cart completed.
1. On the left side panel, go to Sales & Marketing
2. Click on Customer Financials
3. Select Customer Financials
4. Choose Customer Financial Management
5. Go to the Discount Tab

